Waterproofing_Coax_Connections.pdf
Step 1
Apply 3M electrical tape starting 1” outside the connection assembly. Wrap overlapping layers and cover the connection up to 1” past the assembly.
Step 2
Apply Butyl Mastic adhesive, starting 1” outside the electrical tape. Stretch tight, overlapping until 1” past the electrical tape. Work it in with your hands. This clay-like substance molds together into one solid unit and provides the actual waterproofing.
Step 3
Apply vinyl electrical tape starting 1” past the previous step to protect the Butyl Mastic from sun and elements. Wrap over the mastic to 1” past the previous step.
Now you have a completely waterproof connection that will last for years. Check the connection after 2–3 years for drying or cracking, which could allow water to enter.
Transcript
[0m:4s] Hi I'm Josh Bloom, welcome to another video in the RSP Supply education series. Today we're going to be demonstrating how to properly waterproof coax connections. Improper waterproofing on these types of connections accounts for the majority of communication failures. To ensure a proper seal is made, it is important that we use products that are purpose-built for this type of application. In today's video, we're going to be using a kit provided by RSPsupply.com.
[0m:28s] In this kit is a 3M vinyl electrical tape referred to as Temflex. We also have a butyl mastic adhesive, which actually provides the waterproofing and protection for the connection itself. Step one is to take the 3M electrical tape and begin to apply it at least one inch outside of the factory heat shrink cable.
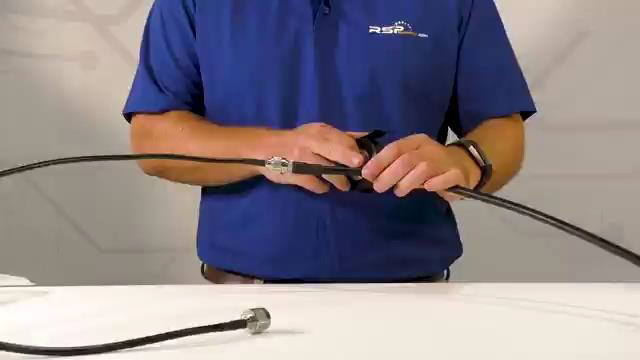
[0m:49s] Wrap the tape around the connection, overlapping each time until you reach the other side, going one inch past the factory heat shrink. Tear the tape to complete step one.
Step two: apply the butyl mastic adhesive starting one inch past the electrical tape. Pull it very tight, overlapping each rotation until you reach the other side, again going one inch past. Tear the adhesive when done. Work the mastic in so it becomes one solid unit. This clay-like substance is what provides the actual waterproofing.
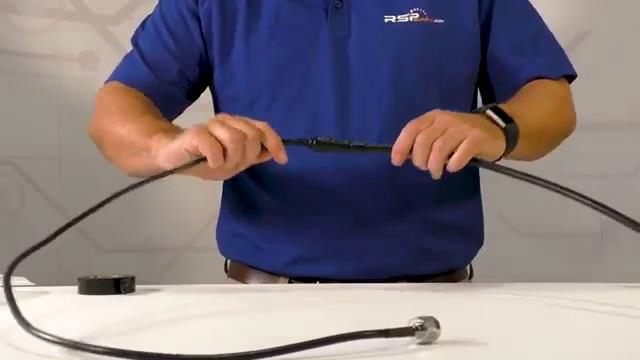
[1m:55s] Step three: apply vinyl electrical tape again, starting one inch past the mastic. Overlap the tape until you reach the other side, again going one inch past. Tear the tape to complete the step.
You now have a completely waterproof and UV resistant connection that will last for years. Check every 2–3 years to make sure the butyl mastic has not dried or cracked, as this could allow water in. As always, you can find any of the products seen in today's video on our website. For more information or other educational videos, visit RSPSupply.com, the Internet's top source for industrial hardware. Also, don’t forget to like and subscribe.