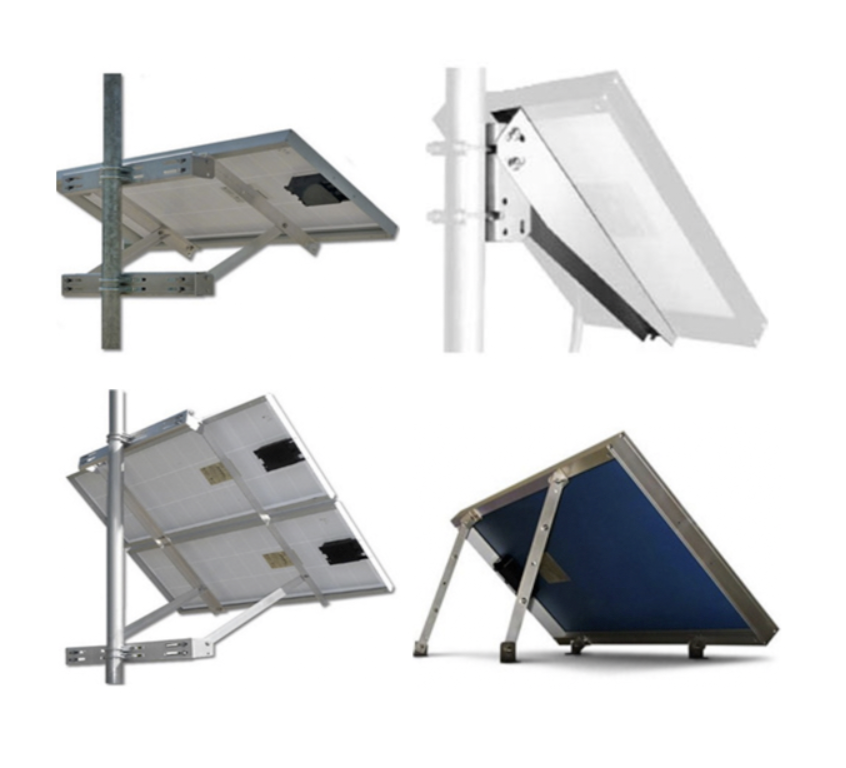
Solar Panel Mounts

RSP Supply carries a full selection of solar panel mounts designed for ground-mounted, flat roof, and pitched roof photovoltaic installations. Solar panel mounting systems provide the structural support required to securely position panels while optimizing their angle and orientation for maximum sun exposure. Proper mounting plays a critical role in overall system efficiency, long-term stability, and reliable energy production.
Solar panel mounts are available in several configurations, including fixed mounts, adjustable mounts, and tracking mounts. Fixed mounts offer a stable, cost-effective solution for many applications, while adjustable and tracking systems allow panels to be positioned at varying angles to better follow the sun’s path. Ground mounts and pole mounts are commonly used when roof space is limited or when site conditions allow for flexible placement and easier access for maintenance and cleaning. These systems can be installed using concrete foundations or driven poles, depending on soil conditions and project requirements.
Roof-mounted solar panel systems are ideal for conserving ground space and integrating solar arrays into existing structures. Flat roof installations often use ballasted or rail-based mounting systems to avoid roof penetrations, while pitched roof mounts are secured using hardware designed to align with roof angles and structural members. Regardless of installation type, solar panel mounts must be selected and installed to withstand wind, snow loads, and environmental exposure, ensuring consistent performance and long service life.ollowing the sun as it moves across the sky from east to west.
FAQs
Q: What types of solar panel mounts are available?
Solar panel mounts are commonly available as ground mounts, pole mounts, flat roof mounts, and pitched roof mounts, with options for fixed, adjustable, or tracking configurations.
Q: When should ground-mounted solar systems be used?
Ground-mounted systems are ideal when roof space is limited, roof orientation is unfavorable, or when easier access for maintenance and cleaning is required.
Q: What materials are commonly used for solar panel mounts?
Many solar panel mounts are made from aluminum or steel due to their strength, corrosion resistance, and suitability for outdoor environments.
Q: Do solar panel mounts affect system efficiency?
Yes, proper mounting ensures panels are positioned at the optimal angle and orientation, helping maximize sunlight exposure and overall energy output.
Q: Are roof-mounted solar systems suitable for all roof types?
Solar panel mounts are available for many roof types, but system selection depends on roof structure, slope, load capacity, and environmental conditions.
Why Buy Solar Panel Mounts from RSP Supply
RSP Supply offers a wide range of solar panel mounts designed for residential, commercial, agricultural, and industrial photovoltaic applications. Our mounting solutions support secure installation, efficient panel positioning, and long-term durability across ground and roof-based systems. Customers rely on RSP Supply for knowledgeable support and dependable mounting components that help ensure safe, stable, and effective solar installations.

