Panel_Build_Series_Part_13_-_Layout_Continued.pdf
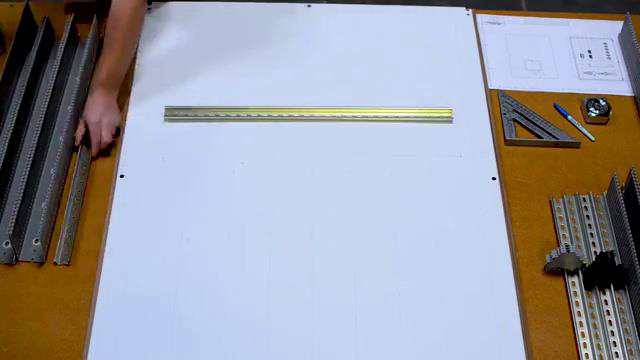
- Cut the din rail and wire duct.
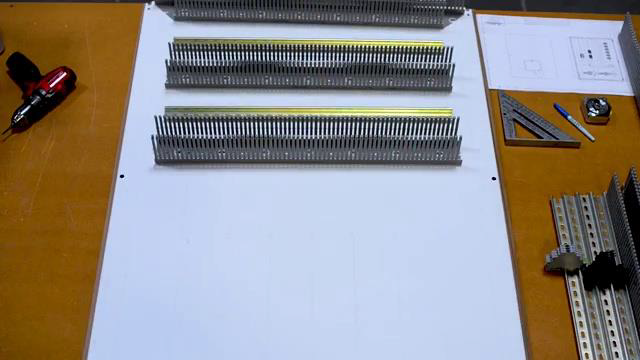
- Do a dry layout- do not skip! Lay out the wire duct and din rail, and even lay out some of the hardware to make sure you have space.
- Mark where the holes need to be drilled.
Transcript:
[0m:4s] Hi I'm Josh Bloom, welcome to another video in the RSP Supply education series. If you find that these videos are helpful to you, it certainly helps us out if you could give us a big thumbs up and subscribe to our channel.
[0m:15s] In today's video, we will move on to the next step in building our control panel. If you haven't already seen the other videos in this series, we encourage you to go back and watch from the beginning so that you might better understand the entire process.
[0m:30s] The step in which we will focus on today is the mounting of the wire ducting and Dinrail. Now that the layout lines have been applied to the back plane we can move on to this portion of the build where we start cutting out Dinrail and wire ducting, and then move on to the process of how we actually mount the hardware to the Backplane.
[0m:50s] There are many different ways to cut both din rail and wire ducting, so I will not cover these in great detail. Just know that for the purposes of this video we used a metal cutting bandsaw to cut the din rail and used a hand saw to cut the wire ducting.
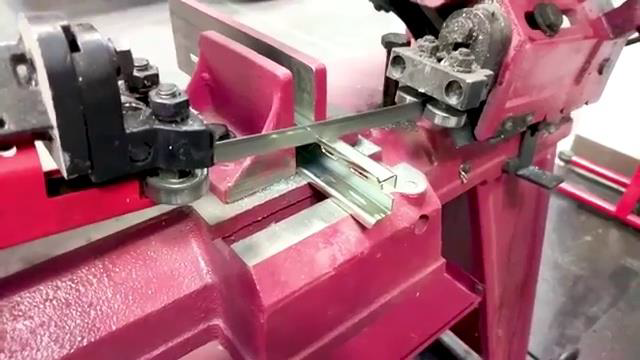
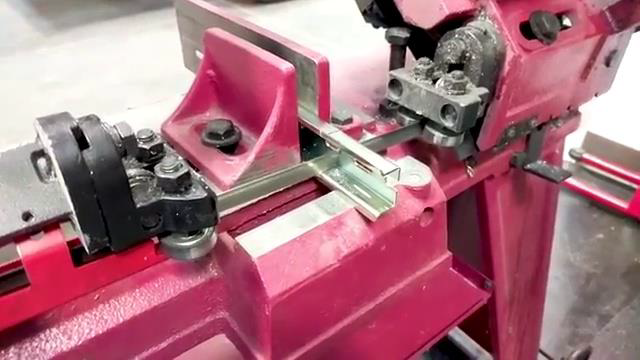
[1m:7s] There are several different kinds of tools that can be used to cut both din rail and wire ducting very quickly and easily if you want to invest the money.
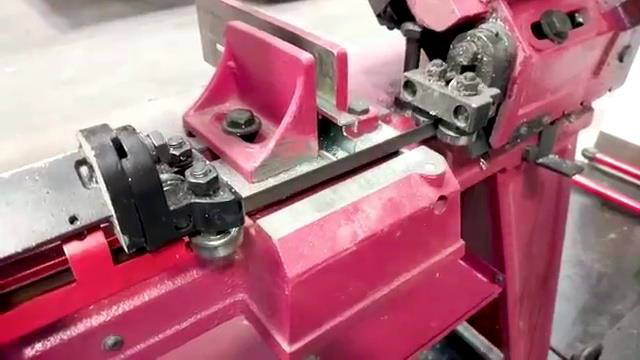
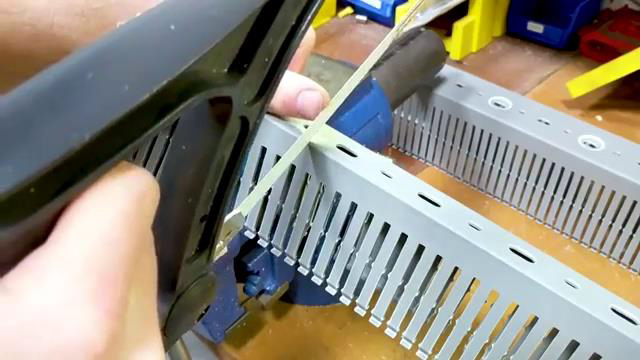
[1m:16s] When cutting this material pay close attention to your drawings to ensure that everything is being cut to the right dimensions. If you make the wrong cut here, you run the risk of wasting that material which can be costly.
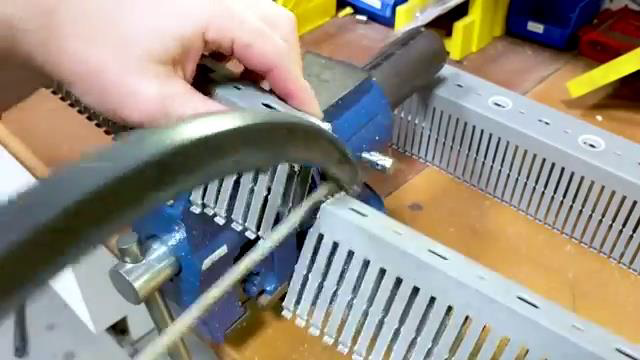
[1m:30s] Once all the material has been cut, it's time to do a dry layout on the back plane to make sure everything will fit as intended.
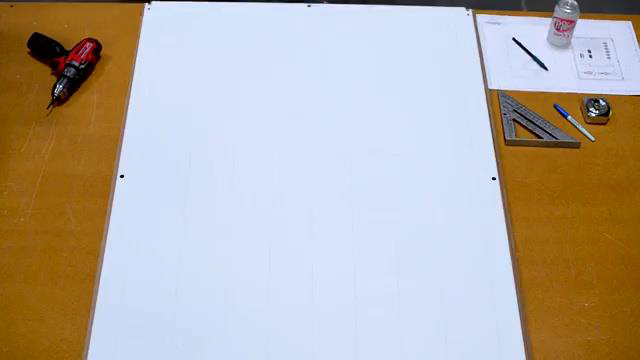
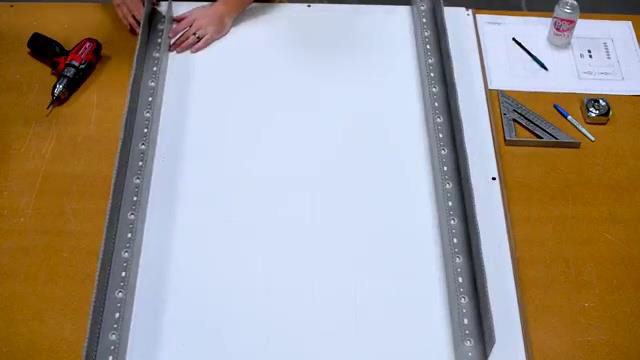
[1m:39s] This dry layout is a process that gets commonly ignored among many panel builders but it's critical to making sure that everything fits the right way the first time. This step has personally saved me so many headaches and much time, so I highly recommend you take the time to lay out your parts.
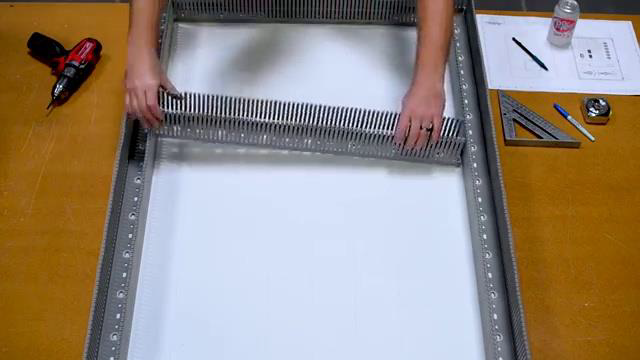
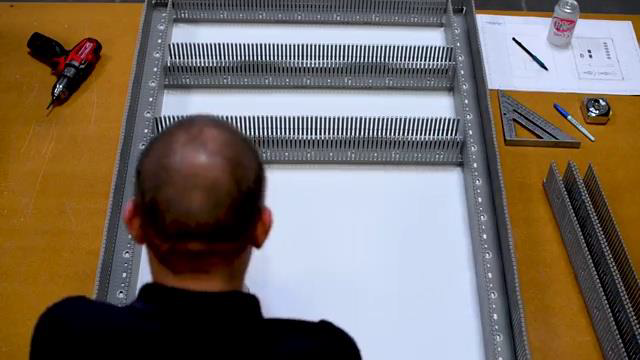
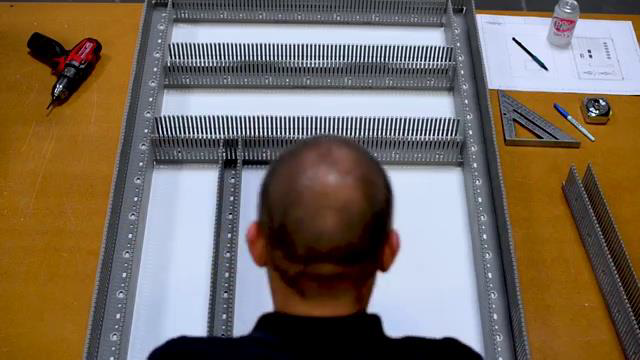
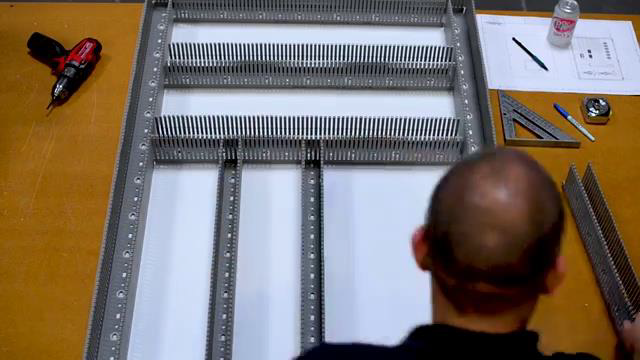
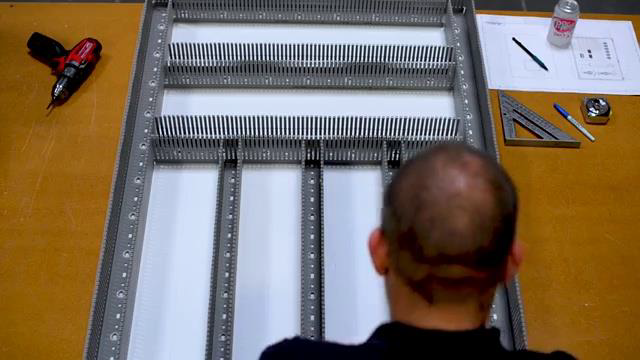
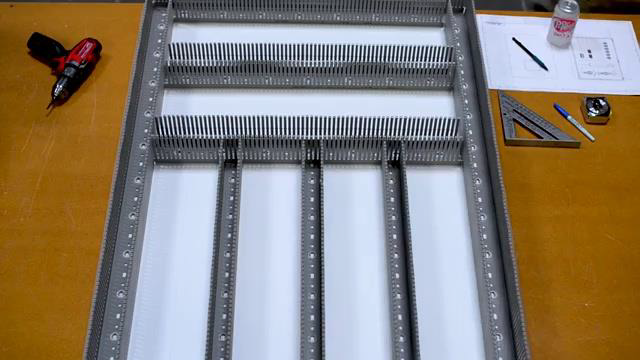
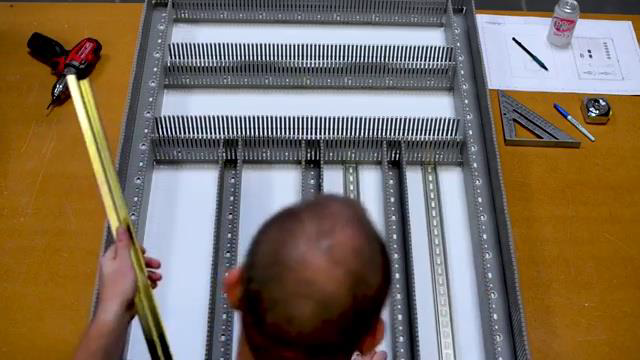
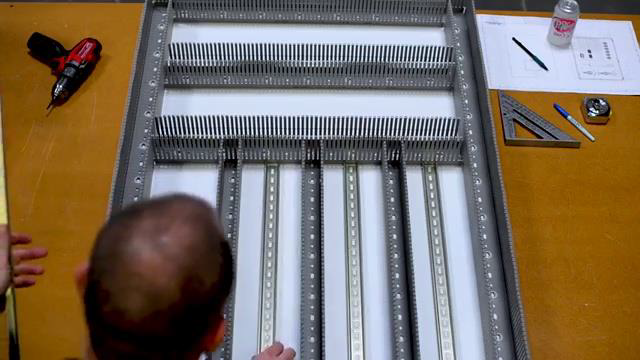
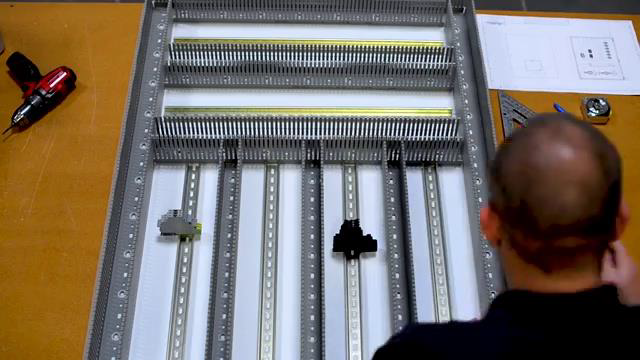
[2m:1s] To begin, I place all the wire ducting and din rail in the proper spots on the panel using the layout lines you have previously placed.
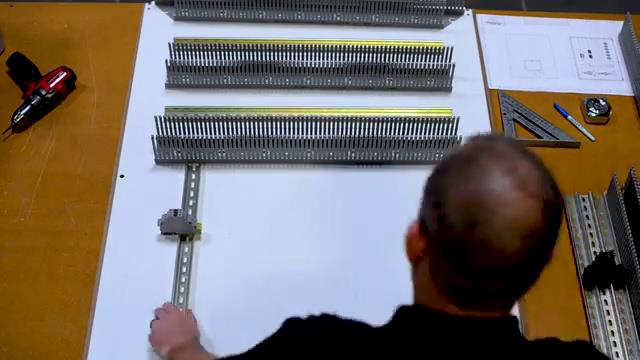
[2m:11s] At this point, once everything is in position, you could start marking your holes for drilling, but I go one step further. I actually take some of the hardware I am using in the panel and place it on the din rail to make sure that I have proper spacing that is needed between the different sections of wire ducting.
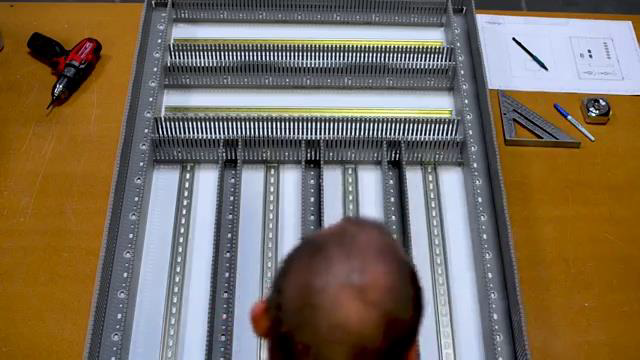
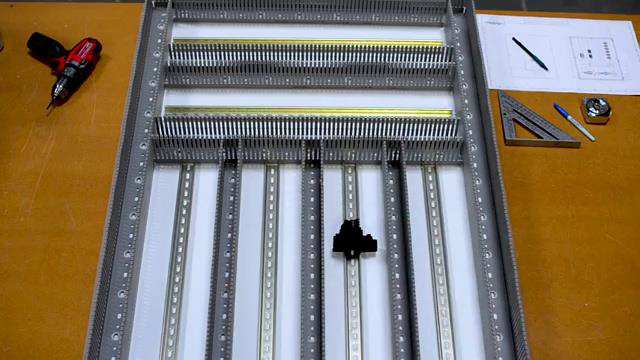
[2m:33s] This ensures that everything is spaced correctly and gives you a very clean and consistent look throughout the whole panel.
[2m:42s] Once the layout is complete, you can now move on to marking where the holes need to be drilled. To perform this step, typically you will use the holes located in the din rail and wire ducting to mark where your mounting holes will be located on the panel.
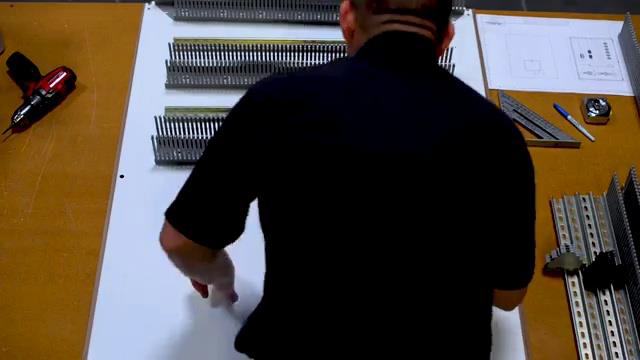
[2m:58s] Take your time during this step to ensure that you do not move or bump any of the hardware out of alignment. Once the hole locations have been marked you can remove the hardware from the panel to begin the drilling process. While removing the hardware, remember where each piece goes and it's specific orientation. Now that all the locations have been marked, you can begin drilling and tapping which we will discuss in our next video.
[3m:28s] For a full line of industrial control panel hardware and thousands of products, please go to our website. For more information or other educational videos, go to RSPSupply.com, the Internet's top source for industrial hardware. Also, don't forget: like and subscribe.


