Control_Panel_Build_Series_Part_12_-_Layout.pdf
- First, review your drawings.
- Next, begin applying layout lines on the backplane.
- Then, start by making tic marks on the backplane where each piece of din rail and wire duct that will go on the panel.
- Then, go back and draw your lines.
- Go back and double check your measurements!
Transcript:
[0m:4s] Hi I'm Josh Bloom, welcome to another video in the RSP Supply education series. If you find that these videos are helpful to you, it certainly helps us out if you could give us a big thumbs up and subscribe to our channel.
[0m:15s] In today's video, we will move on to the next step when building a control panel. If you haven't already seen the other videos in this series, we encourage you to go back and watch from the beginning of the series so that you might better understand the entire process.
[0m:29s] The step in which we will focus on today is layout.
[0m:33s] Beginning with this step, we finally start to work on the panel hardware and the actual fabrication process. But before we mount hardware and start wiring, we want to take some time to make sure that the panel design we created is implemented properly.
[0m:49s] Proper panel layout is critical to ensuring that everything gets installed in the right place. It allows you to avoid major mistakes that can come back to haunt you later on in the build process. First review the drawing to make sure everything is as it should be.
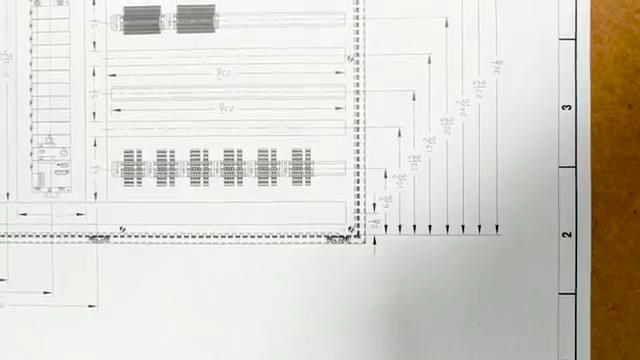
[1m:5s] Once you are certain the panel design is correct, you can begin applying layout lines on the back plane.
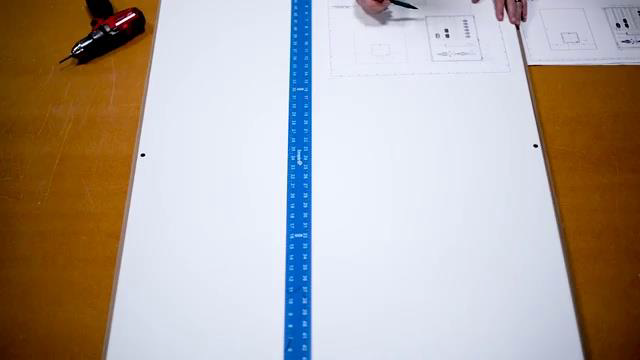
[1m:12s] It is good practice to use baseline dimensioning when applying your layout lines. This should be taken into consideration during the drawing and design phase to make this step a little bit easier.
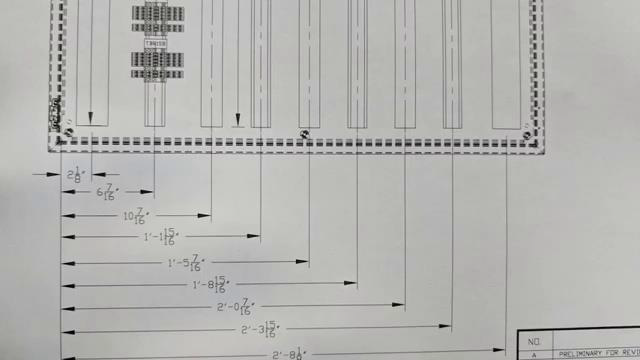
[1m:25s] By using this approach, you can simply use one base point on the back plane to lay out the majority of your lines. In most cases, a measuring tape will work fine, but using a framing square can save time and make the job much easier, especially on larger panels.
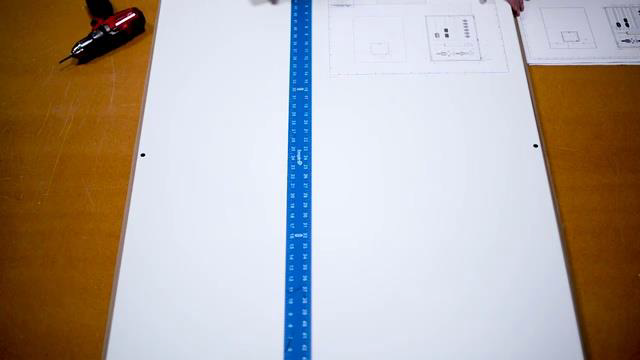
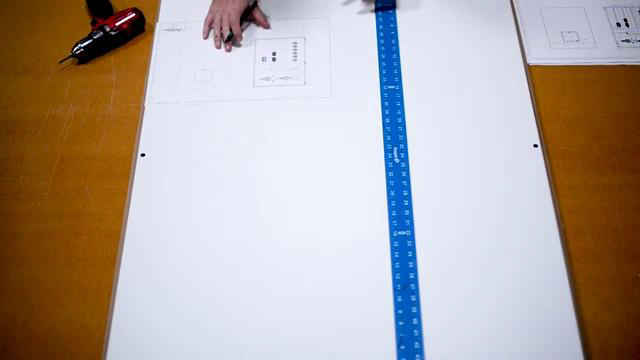
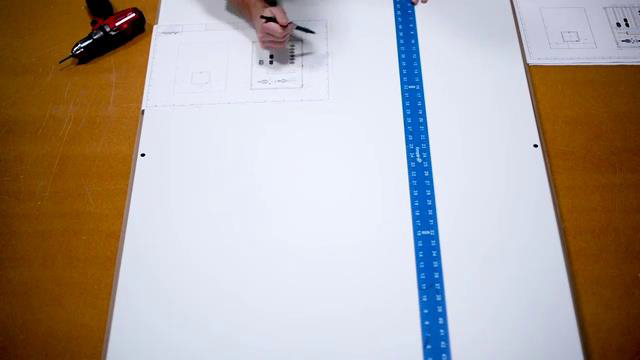
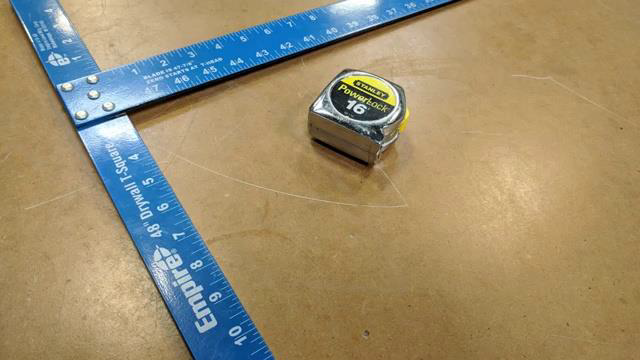
[1m:43s] First, start by making tick marks on each location where either a piece of din rail or wire duct will go on your panel.
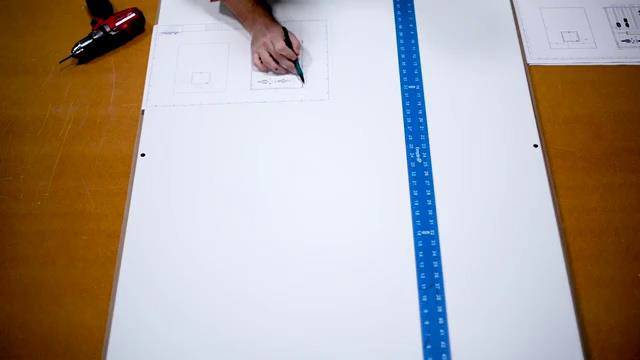
[1m:51s] Typically you will do this two times, for everything running horizontally on the panel, and then again for everything running vertically on the panel. Once the tick marks have been placed on the back plane, you can then go back and apply your lines. To do this simply take your framing square and line it up with your tick marks to draw your lines. Make sure that the line is easy to see to ensure the installation of the hardware goes smoothly.
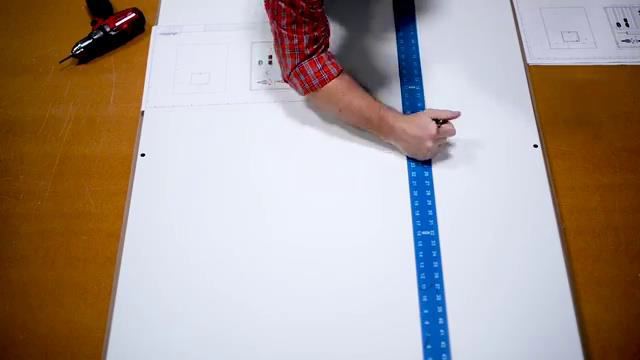
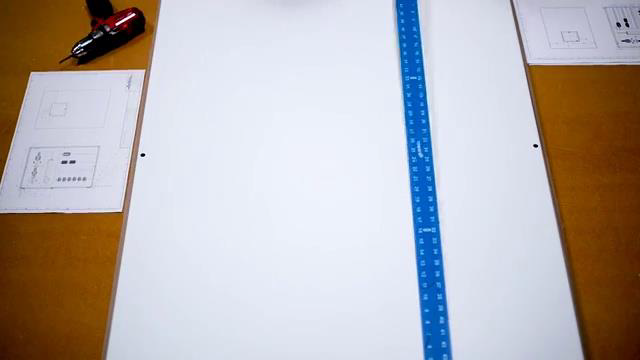
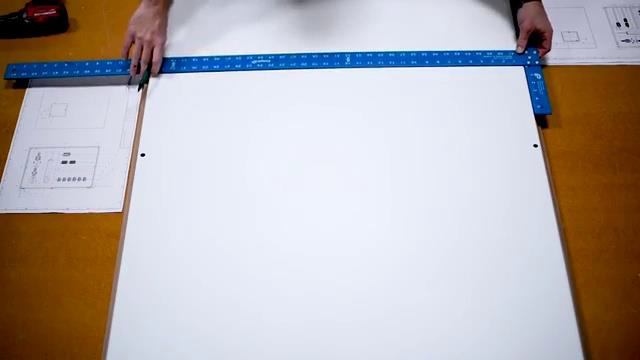
[2m:19s] The lines that are being applied to the panel will represent the center point of the din rail and wire ducting so that when you apply them to the panel you can use the holes in the hardware to find your lines ensuring a perfect install.
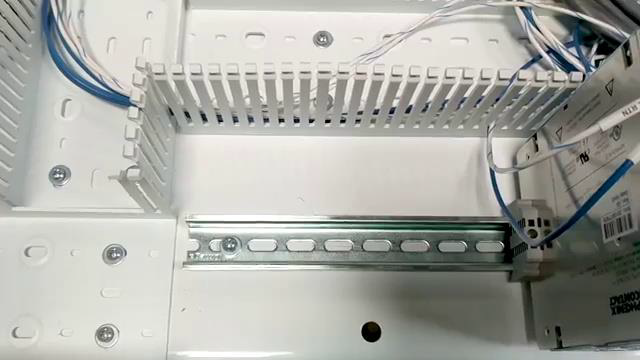
[2m:34s] Once all lines have been applied to the Backplane, it is a good idea to go back and double check your measurements to ensure everything is as it should be.
[2m:43s] At this point, you have done nothing to the back plane, except apply some pencil marks. Making changes during the step will be quick and easy. However, once you start drilling holes, you can't go back and undo those mistakes. So take your time and get it right. By following some of the steps that we have outlined in this video you will get off to a good start in the building process of your panel.
[3m:8s] For a full line of industrial control panel components and thousands of other products, please go to our website. For more information or other educational videos, go to RSPSupply.com, the Internet's top source for industrial hardware. Also, don't forget: like and subscribe.


