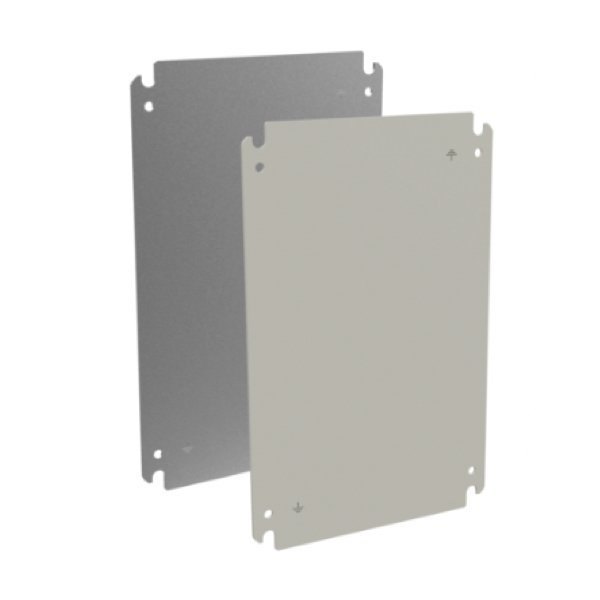
ZONEX Enclosure Accessories

ZONEX enclosure backplates are designed to provide a secure and reliable mounting surface for electrical and control components installed within hazardous location enclosures. Manufactured for compatibility with Hoffman ZONEX enclosures, these backplates support organized layouts while helping maintain compliance with stringent industrial safety standards. They are commonly used in applications where electrical equipment must be isolated from potentially explosive atmospheres.
Available in galvanized or painted steel, ZONEX backplates offer durability and corrosion resistance suitable for demanding industrial environments. Galvanized steel backplates provide enhanced protection against moisture and corrosion, while painted steel options offer a clean, uniform finish for controlled environments. Both materials are engineered to withstand the mechanical and thermal stresses associated with hazardous location installations.
FAQs
Q: What is the purpose of a ZONEX enclosure backplate?
A ZONEX enclosure backplate provides a rigid mounting surface for electrical components, helping organize equipment and maintain proper clearances inside hazardous location enclosures.
Q: What is the difference between galvanized and painted steel backplates?
Galvanized steel backplates offer superior corrosion resistance for harsh or humid environments, while painted steel backplates provide a smooth, finished surface suitable for less aggressive conditions.
Q: Are ZONEX backplates used in hazardous locations?
Yes, ZONEX backplates are designed for use inside hazardous location enclosures where flammable gases, vapors, dust, or fibers may be present.
Q: What types of hazards require hazardous location enclosures?
Hazardous locations include areas with ignitable or combustible gases, vapors, liquids, dust, or fibers that could create a risk of fire or explosion.
Q: What is ATEX compliance, and why is it important?
ATEX is a European Union directive that defines health and safety requirements for equipment used in potentially explosive atmospheres. Compliance ensures equipment is suitable for use in environments with explosion risks.
Why Buy ZONEX Enclosure Accessories from RSP Supply
RSP Supply offers a curated selection of ZONEX enclosure accessories, including galvanized and painted steel backplates designed for hazardous location applications. Our product offerings support compliance with industry standards such as ATEX and are sourced from trusted manufacturers like Hoffman. Customers rely on RSP Supply for dependable inventory availability, accurate product information, and industrial components suited for demanding electrical environments.

