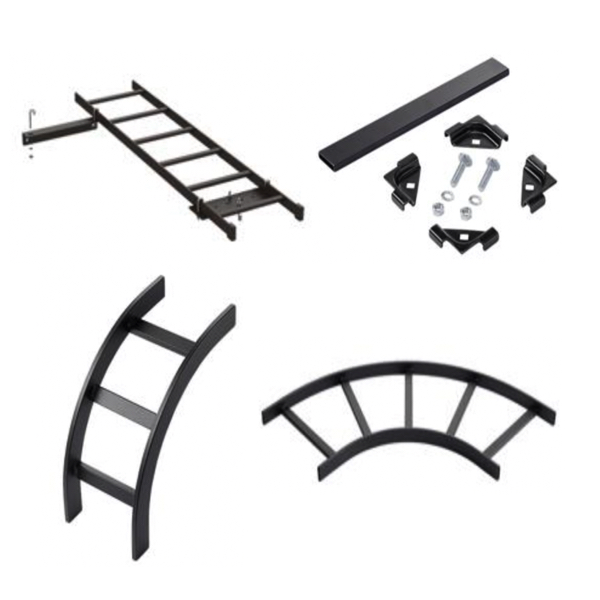
Cable Ladder Rack Systems

Cable ladder rack systems provide a durable and efficient solution for managing and supporting large volumes of cable in industrial and commercial environments. Commonly used in factories, control rooms, data centers, and utility spaces, these systems offer a structured pathway that keeps cables organized, accessible, and properly supported. Compared to wall-mounted or improvised cable supports, ladder racks are designed to handle higher loads while maintaining consistent spacing and airflow around cables.
Most cable ladder rack systems consist of longitudinal side rails connected by evenly spaced rungs, forming a ladder-like structure that supports cables along horizontal or vertical runs. Fully welded construction and sturdy materials allow these racks to support heavy cable loads with minimal deflection when properly installed. Many systems are UL-listed, ensuring compliance with applicable safety and performance standards for industrial cable management.
Cable ladder rack assemblies can be configured with straight sections, bends, offsets, and accessories to route cabling around obstacles while maintaining code-compliant installations. Additional components such as safety nets, support brackets, and runway extensions enhance system stability and prevent cable movement or accidental displacement. Finished with durable, scratch-resistant powder coating, cable ladder racks provide long-term performance while supporting clean, organized installations.
More Information about Cable Ladder Rack Systems
Ladder racks provide support for large amounts of cabling and offer a clear path for the cables, keeping them organized. They have a highly scratch-resistant, durable black powder coat finish, and the external width of the runs allows different configurations and different sizes of cables to fit them. Most ladder rack kits come with support brackets. Runway options go with the ladder racks as well.
FAQs
Q: What are cable ladder rack systems used for?
Cable ladder rack systems are used to support, organize, and route large quantities of cable in industrial and commercial facilities.
Q: Where are ladder rack systems commonly installed?
They are commonly installed in factories, data centers, control rooms, electrical rooms, and other areas with high cable density.
Q: What is the typical load capacity of cable ladder racks?
Most UL-classified ladder rack systems support up to 132 pounds per foot with minimal deflection when supported at 5-foot intervals.
Q: Are cable ladder racks UL-listed?
Many cable ladder rack systems are UL-listed, indicating they meet recognized safety and performance standards.
Q: Can ladder rack systems be customized for different layouts?
Yes, ladder racks can be configured with straight sections, bends, offsets, and accessories to accommodate complex routing requirements.
Q: Do ladder rack systems come with mounting hardware?
Most ladder rack kits include support brackets and mounting components to ensure proper installation and load support.
Why Buy Cable Ladder Rack Systems from RSP Supply
RSP Supply offers a full line of cable ladder rack systems designed for strength, reliability, and flexible cable routing. Our selection supports high-capacity cable management needs in industrial and commercial environments while meeting recognized safety standards. Customers rely on RSP Supply for dependable cable management solutions, application expertise, and components built to support organized, long-lasting installations.

