Industrial_Wiring_Tips_and_Tricks_Part_Two.pdf
Transcript:
[0m:4s] Hi I'm Josh Bloom, welcome to another video in the RSP Supply education series. Today we're gonna be talking about more wiring tips and tricks part two. The first thing we're going to talk about today is stripping the insulation off a wire. It is very important that we strip the proper amount of installation off the wire in order to make the proper electrical connection.
[0m:26s] If we strip too much wire off of our installation, we expose the wire which can cause a short circuit. Let me show you what I mean.
[0m:35s] In this case, I have a wire terminated into a circuit breaker. You can see here that I have about a quarter inch of wire. Maybe not quite that much that's actually exposed on this termination.
[0m:47s] If one of those wire strands were to come loose, that could cause a short circuit in this electrical connection. On the other hand, if we don't take enough insulation off the wire, it can cause a poor electrical connection. Let me show you what I'm talking about.
[1m:3s] On this same circuit breaker, I have a wire that has not been stripped enough. I'm going to remove the wire and show you what it does.
[1m:13s] As you can see here, we have crimped down on the insulation of the wire. This leads to a poor electrical connection
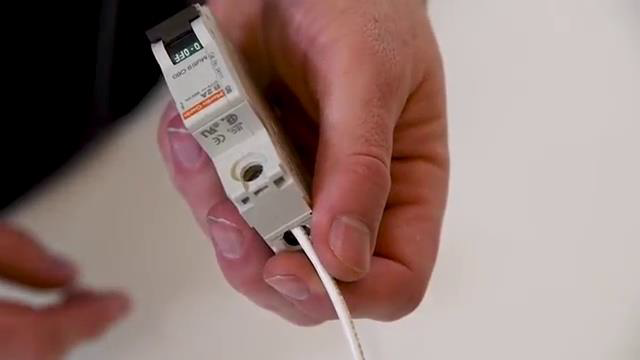

[1m:20s] and it can cause failure in our electrical circuit.
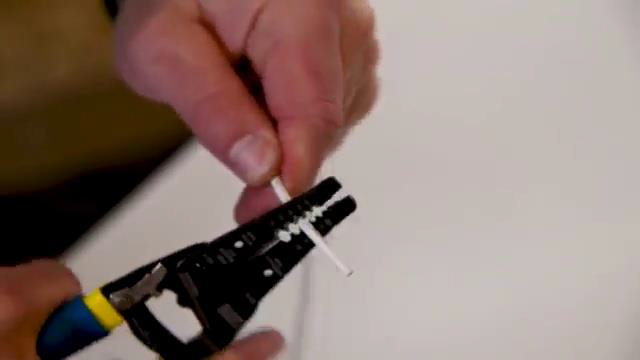
[1m:23s] So what are the tools that we actually use to strip the wire insulation? The most common is a wire stripper. This allows us to ship the insulation off of different sizes of wire. The problem with using this method is we don't get consistent results. Sometimes we strip too much insulation, sometimes we don't strip enough, other times we might remove strands of the wire itself. So, let me demonstrate how we use a common wire stripper. Here I have 14 gauge stranded wire.
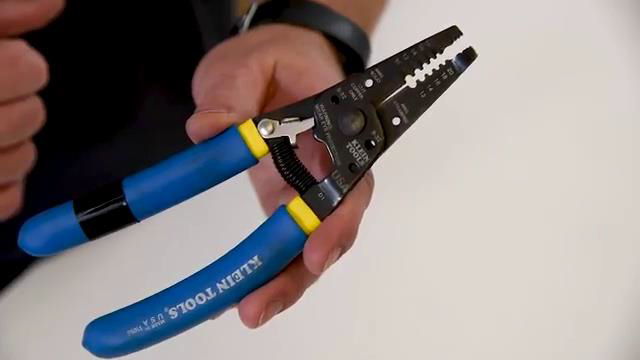
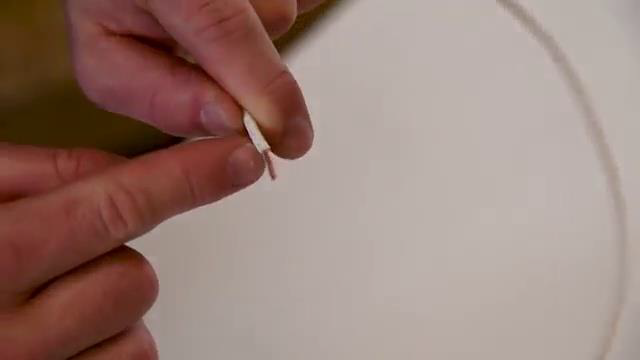
[1m:52s] I am going to put the wire in the right setting and go ahead and strip that it allows me to pull the installation free,
[1m:59s] and I get a nice stranded wire that is exposed. However, I can also strip two much insulation off of this wire.
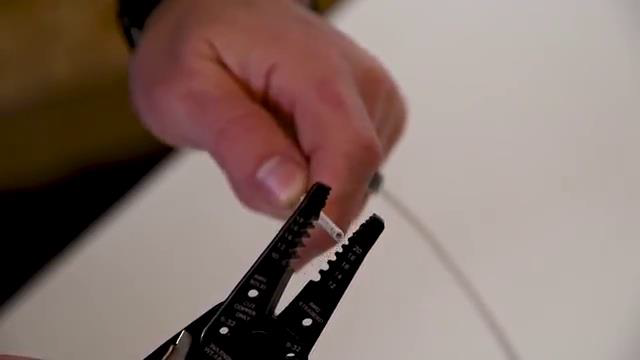
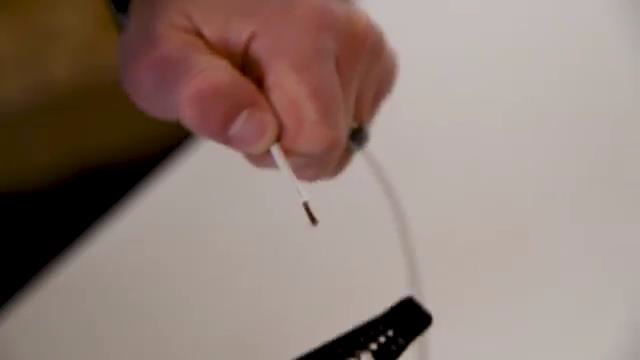
[2m:8s] Or in some cases,
[2m:10s] I can strip not enough insulation, again, giving me inconsistent results. Let me also demonstrate what happens if we strip this wire on the wrong setting on this particular wire stripper. So again, I have a 14 gauge wire, but this time I'm gonna put it in the 16 gauge setting. So, as you can see by doing this we actually removed a few strands of wire which can reduce the conductivity of this particular conductor.
[2m:34s] The next method, which is a better method, is using a calibrated wire stripper which we have here, this type of wire stripper automatically detects the gauge of the wire that we're stripping and it also allows us to adjust the amount of insulation that we want to remove from our wire. So now let me demonstrate how this particular wire stripper works.
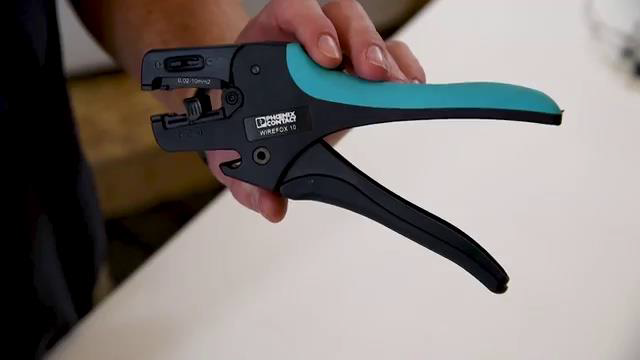
[2m:56s] We set the depth of the amount of insulation that we want right here, and when we insert our wire, it stops it at that point. Not allowing us to strip any more insulation than we have set. We simply squeeze down and it pulls that installation free giving us a perfect
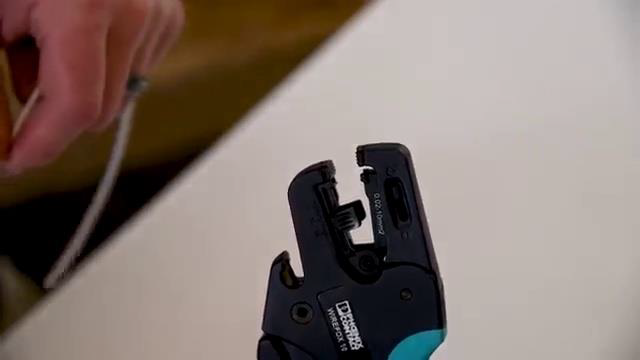
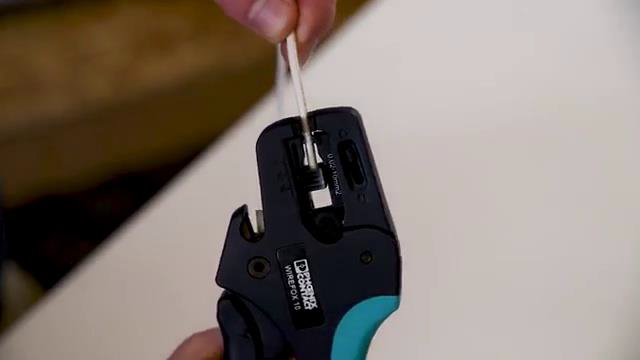
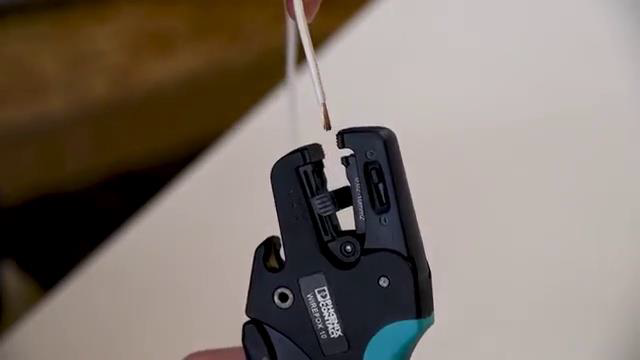
[3m:12s] stripped wire.
[3m:13s] A real advantage of using this type of wire stripper is the consistent results that we can get.
[3m:19s] As I'll show you right now I'm going to cut this wire and strip it one more time.
[3m:24s] I get the exact same amount of insulation stripped as I did the first time. So, we get very repeatable, consistent results.
[3m:32s] So now that we have stripped the wire of its insulation, let's talk about how we prepare the wire for the actual termination itself.
[3m:39s] When using normal stranded wire, we simply want to twist the wire to reduce the chance of any fraying or bird caging when we make the connection. Let me demonstrate.
[3m:49s] We take our stranded wire and we simply twist the strands where we intend to make the connection, again, reducing the chance for any fraying or bird aging.
[3m:58s] Next, we have the choice to use a solid core wire. Now, this does not have any strands in it, as you can see here.
[4m:5s] Typically we see this type of wire being used to pull and push through conduit. It is not normally used when wiring, industrial control panels or other types of industrial situations. However, using solid wire does eliminate the risk of any fraying or bird caging when we make our wire connection.
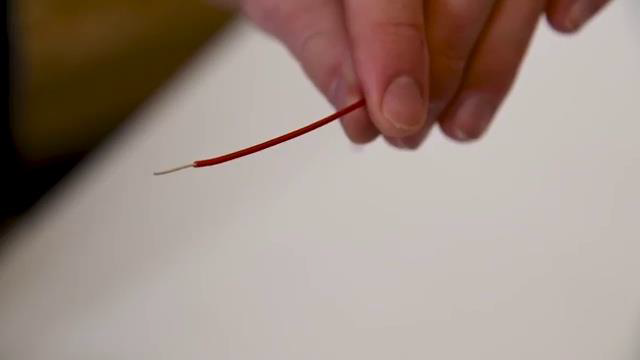
[4m:22s] Next let's talk about wire tinning. Wire tinning is when we actually take a stranded wire and we dip it in solder. This creates a solid connection, much like a solid core wire again, eliminating any risk that we might have from fraying or bird caging in our electrical connections. The next way we can prepare a wire is when we use a ferrule, which you can see here.
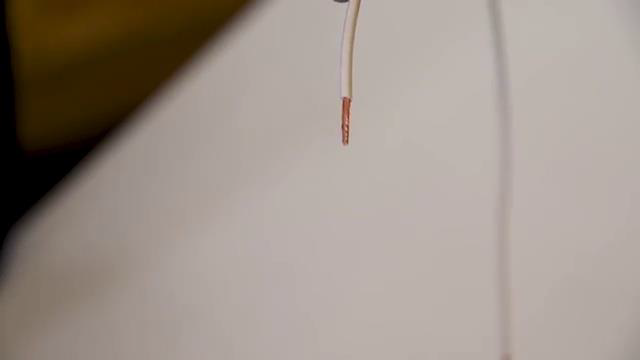
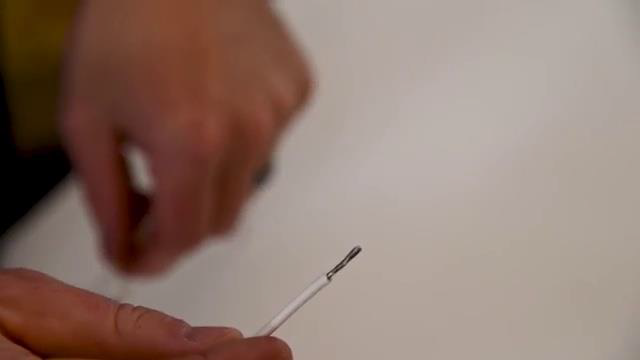
[4m:44s] A ferrule is a connector that is actually crimped onto the end of the wire. Again, this eliminates any risk of freeing or bird caging on the wire, giving us the best protection for the actual electrical connection.
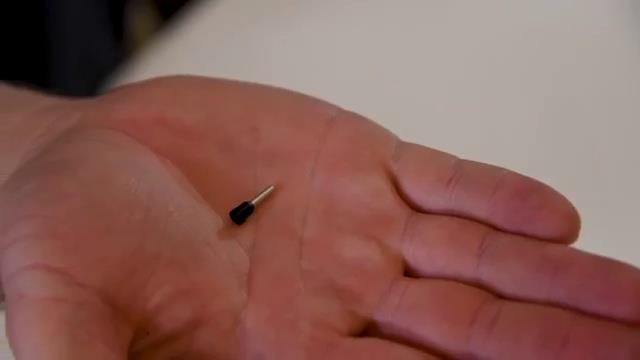
[4m:57s] The one drawback of using ferrule as cost. They do cost more than tinning or using the other methods that we've already talked about.
[5m:5s] It is important to keep in mind when using ferrules that we need the proper tools to make the crimp.
[5m:10s] You have to use either a ferrule crimper or some sort of combination crimp device. Let me show you how we make these connections.
[5m:18s] First we have a ferrule crimper. The crimper does not cut, strip,
[5m:23s] or twist the wire. It simply crimps the ferrule onto the wire connection itself. Let me demonstrate how we do this.
[5m:31s] We take our stranded wire
[5m:33s] and slide the ferrule on making sure not to fray the wire in any way.
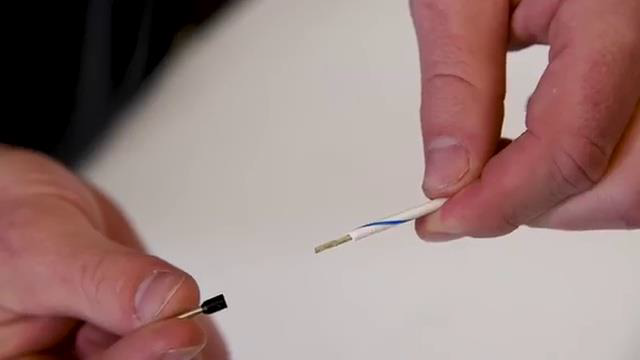
[5m:38s] Once a Farrule is fully seated,
[5m:40s] we take the crimper, push it all the way on,
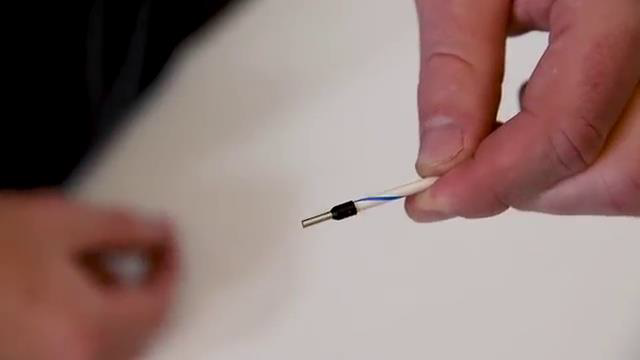
[5m:43s] and simply crimp the ferrule onto our wire connection.
[5m:46s] Where the ferrule crimper only does one step, there is another tool that does all four steps saving you a ton of time. This is a four-in-one ferrule crimper. Let me show you how it works.
[5m:57s] This has the ability to cut the wire,
[5m:59s] it has the ability to strip the wire at the perfect amount as to not strip too much or not enough,
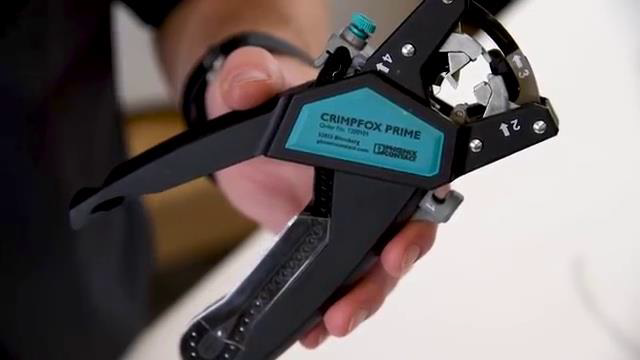
[6m:7s] it also twists the wire,
[6m:9s] removing the installation, and lastly allows us to crimp the ferrule onto the stranded wire,
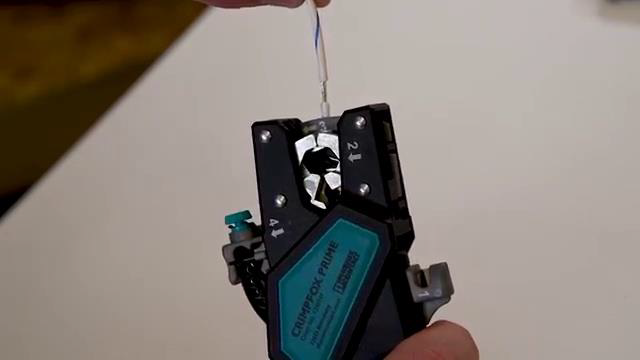
[6m:17s] giving us the perfect feral connection every single time.
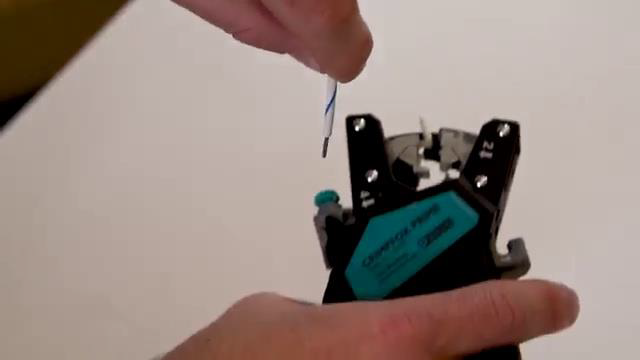
[6m:21s] So the best part of using the four-in-one is it gives us very consistent results eliminating mistakes. It allows us to operate at a very quick pace. So, for production type work, the four-in-one is the way to go. So, let's review some of the tools that we've talked about today. First, we have the regular old wire stripper. While it does the job, it doesn't always give us consistent results. A step up is going to be our calibrated wire stripper giving us much more consistent, repeatable results for more speed and consistent operation.
[6m:53s] When we move into ferrules, we have our basic ferrule crimper, which again does the job very well, but does not give us the results and the consistency that we might want.
[7m:3s] And lastly, we have our four-in-one ferrule crimper which gives us the speed, accuracy, and consistency that we need when we're making wire terminations.
[7m:11s] The last thing we're going to talk about today is the wire that we actually are using and purchasing for our projects. Wire quality is essential for good quality and consistent work. We need to make sure that the wire we are using means either the NEC or UL standards.
[7m:27s] When we purchase wire, that does not meet these standards, we run the risk of purchasing imitation wire, which in many cases uses
[7m:36s] other types of metals that are less conductive and less expensive in our stranded wire that can cause conductivity issues and wire degradation over time. So, when purchasing your wire always check to make sure that you see either an NEC or UL stamp on the wire spool that you're using. For a full line of wire and wiring accessories and thousands of other products, please go to our website. For more information or other educational videos, go to RSPSupply.com, the Internet's top source for industrial hardware. Also, don't forget: like and subscribe.


