Panel_Build_Series_Part_25_-_Testing__Signals.pdf
Testing Signals
The last step in building a control panel is testing all of the different signals in the panel. Make sure you have the right tools on hand for this job. Also, make sure you document this process and record any problems you may encounter. Sign off the completed test, and if the customer is present, make sure to have them sign off on the test as well.
...and that's it! Your panel is complete!
Transcript:
[0m:4s] Hi I'm Josh Bloom, welcome to another video in the RSP Supply education series.
[0m:9s] In today's video, we will move on to the next step in building an industrial control panel. If you haven't already seen the other videos in this series, we encourage you to go back and watch from the beginning so that you might better understand the entire process. The step in which we will focus on today is beginning the testing phase of the build process now that we have tested the power distribution and completed the point-to-point continuity checks, we can move on to testing the functionality of different signal types throughout the panel. Performing this step allows us to ensure the entire panel is functioning as expected before being delivered to the client. As always, the process in which we discuss today is just one method of many that can be performed to achieve the very same results. So let's get to it.
[0m:57s] So, when we're testing signals there's a few things we need to consider before we get started.
[1m:2s] Much like our other tests, we want to make sure we know if our customer is going to be
[1m:8s] present during our test. If that's the case, just like with our power distribution portion of our tests, we want to make sure that we do some preliminary testing
[1m:17s] on our signals to make sure that we avoid any problems or malfunctions during the factory sentence test. So that those problems don't arise when the clients actually present when things go smoothly. Make sure we know if our client is going to be there before we move on to testing of the signals. The next thing we want to make sure is we have the right tools in place for the signal tests. In a lot of cases, specifically designed equipment should be used, but it's not always necessary. If you have access to that equipment definitely use it., but in most cases, you can simply use a multimeter, a jumper wire for the digital inputs and a few other tools as well. It's helpful to have access to the PLC, so if you can connect to it via laptop so that we can double check that its programmed correctly, and if we have access to the PLC, we can also perform some of the other portions of the test, like simulating some of the signals, especially like digital output and analog output signals. We need access to the PLC in order to do that.
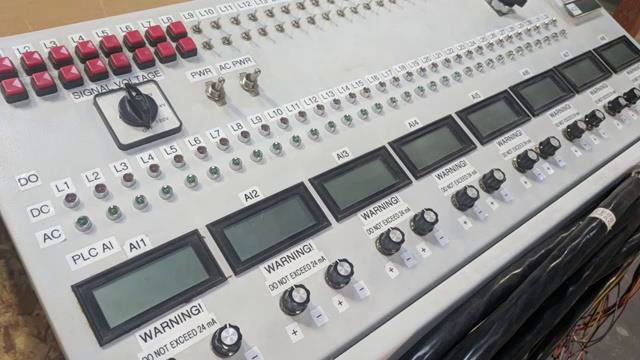
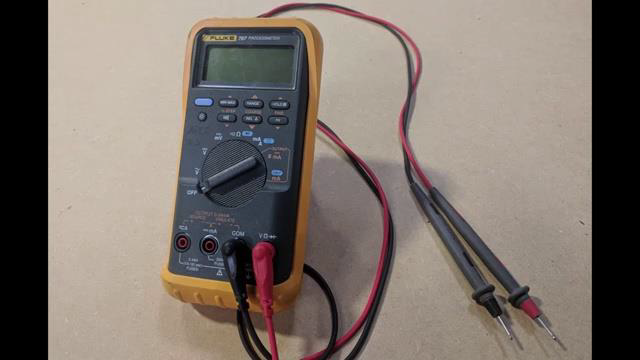
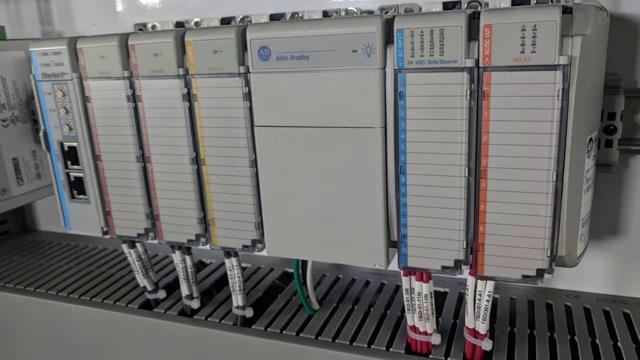
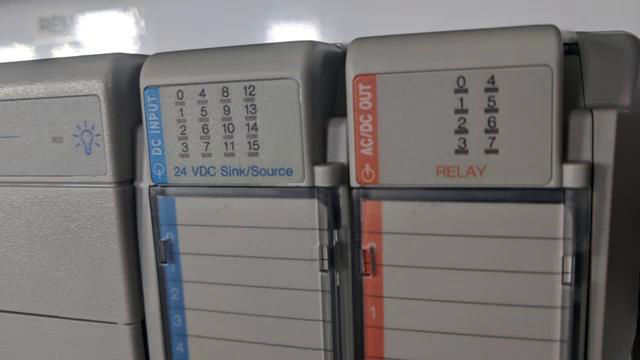
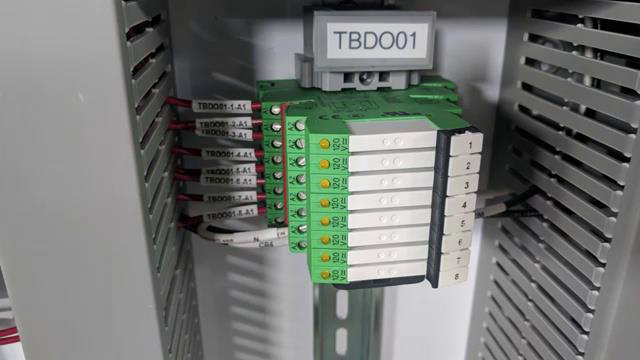
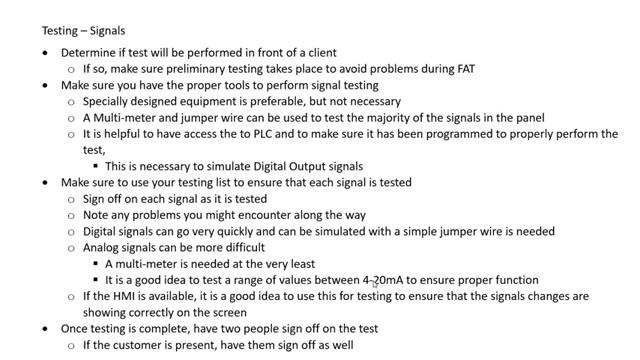
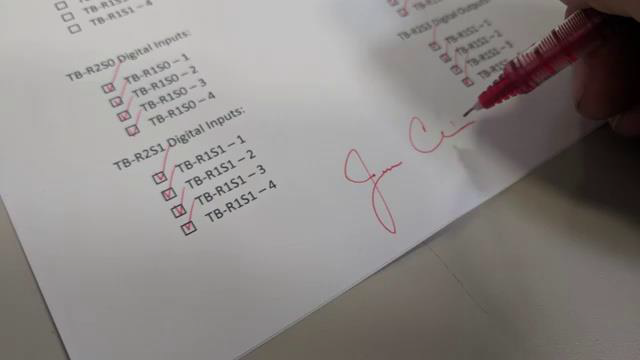
[2m:18s] From this point, we simply start testing our signal. So, we're going to use the list that we have that we have created to make sure that we test every single signal, so as we go through this we're going to sign off on each signal as it is tested.
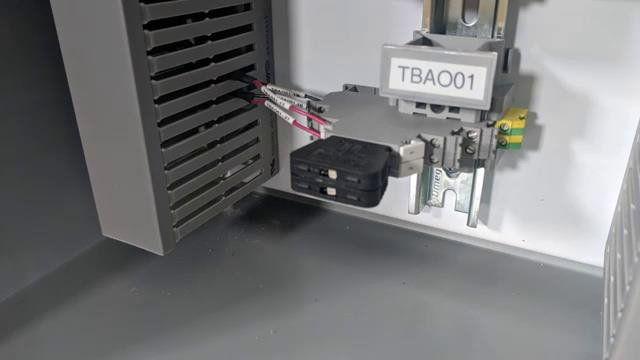
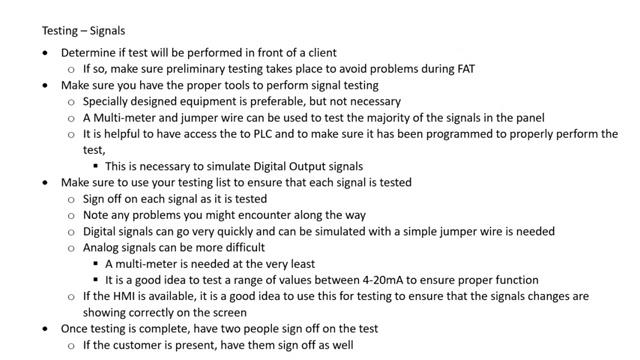
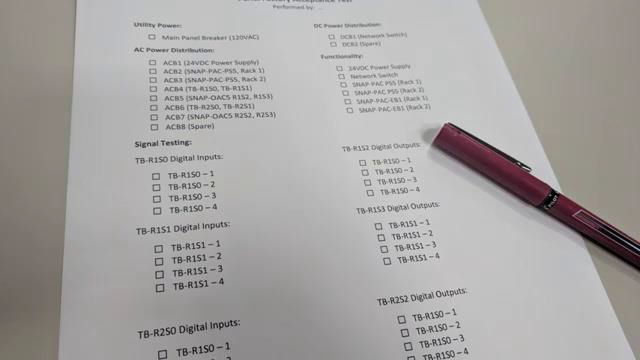
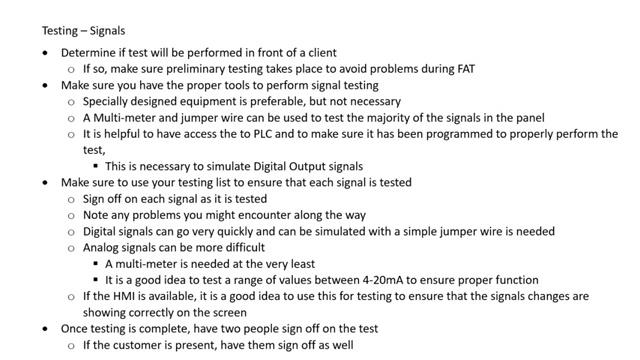
[2m:35s] We want to make sure that as we encounter problems. We want to make sure that as we encounter problems that we note those problems, we keep a record of those issues and we address those once the test has been complete. So we want to make sure that we
[2m:48s] keep track of any problems that we may encounter along the way.
[2m:53s] With digital signals in many cases, simply use a jumper wire connected to power,
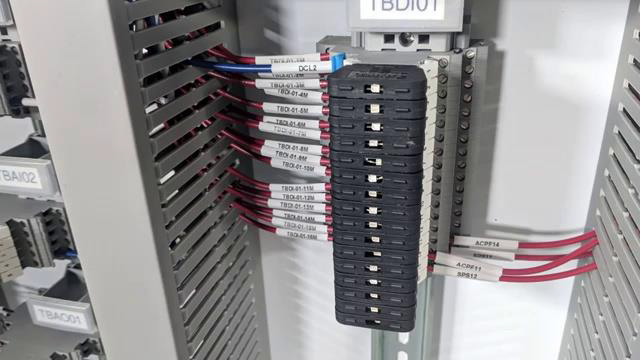
[3m:0s] and then simply touch those to each signal so that you can simulate that on/off
[3m:6s] that the digital signal requires. So again, just using a jumper wire in a lot of cases is acceptable if you don't have any kind of special equipment.
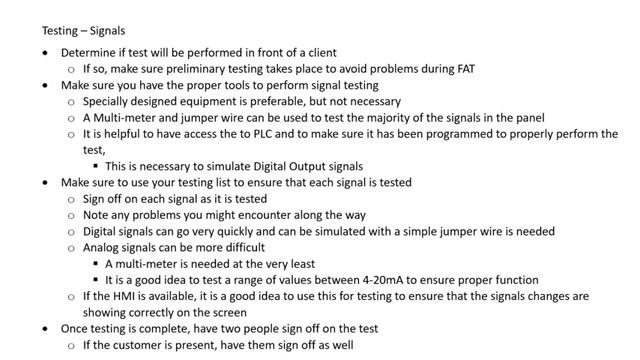
[3m:16s] With analog signals there's a little bit more to it. With an analog signal at the very least, you need a multimeter. And the reason we want to do that is we want to be able to measure the Milliamps. So we typically on an analog signal we're measuring between 4 to 20 milliamps, so having a multimeter gives us the ability
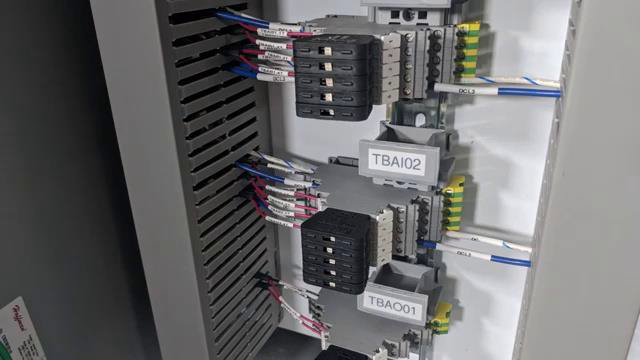
[3m:33s] to kind of simulate that 4 to 20 milliamp input signal. Without a multimeter, we don't have the ability to simulate
[3m:41s] that 4 to 20 milliamp signal. So, you need a multimeter, and in most cases, more like a process meter, something a little more advanced that can perform that type of 4 to 20 milliamp simulation, again, if you don't have access to some of the specialty equipment that's designed for that type of function. So make sure we have a high end multimeter or a process meter to do that.
[4m:4s] Also,
[4m:6s] because we have output signals, we have to measure, again, this is where we'll need to access to the PLC. You want to connect it to that PLC. We’ll want to measure digital output signals as well as analog output signals with the analog output signal you'll need a multimeter again as well. The digital output signals typically if you're using interposing relays, like we do our panels, you can simply listen for that audible click in the relay to make sure that you're sending that output signal.
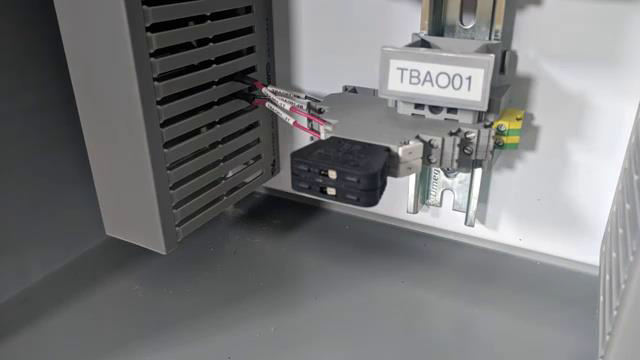
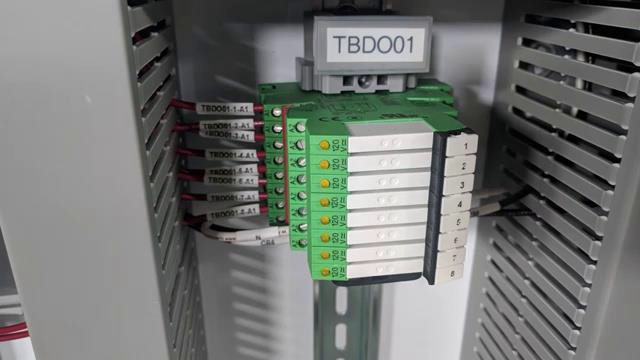
[4m:34s] If the HMI is available, it's a good idea to use this during your testing phase to make sure that as we're testing each of these signals that we're seeing that signal change on our home screen. We want to make sure that as we're testing those the HMI is actually representing that
[4m:53s] that signal input or output. So it's a great idea to have that HMI available if possible.
[4m:59s] Once the testing is being complete, once the signal testing has been complete, just like the other portions of our test, we want to make sure that we have someone sign off on that to make sure that we know that it's been verified. There are people present during this test. If the customer is present, we also want to make sure that they sign off the test is being complete and then we've notated everything that was relevant during that test. And at this point, you have successfully completed the testing portion of your panel build.
[5m:29s] Performing these signal test is critical to ensuring proper control panel functionality. Time should be taking during this process to make sure that nothing is missed, and everything performs as expected. As always, we appreciate your interest and participation in this series and hope you continue to join us as we move on from this process and begin to provide other valuable content to our viewers. In our last video in this series, we will discuss the completion of the control panel, and also talk about what happens with the panel as it moves on site and begins installation and commissioning. So, make sure to join us next time as we finally complete our panel build series. For a full line of industrial control panel hardware and thousands of other products, please go to our website. For more information or other educational videos, go to RSPSupply.com, the Internet's top source for industrial hardware. Also, don't forget: like and subscribe.


