Control_Panel_Build_Series_Part_17__Wiring_Power_Distribution.pdf
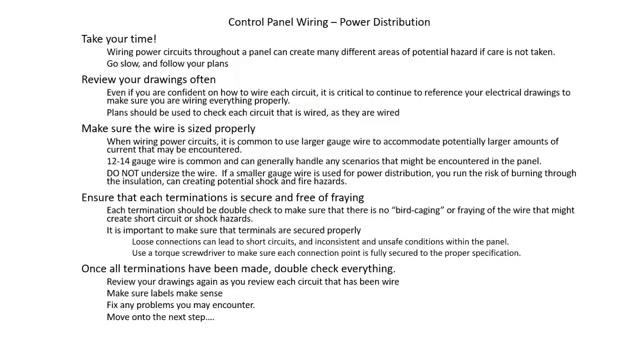
- Review drawings before wiring and reference drawings throughout
- Make sure the wire is sized properly. Do not undersize your wire!
- Ensure that each termination is secure and free of fraying
- Once all terminations are completed, DOUBLE CHECK EVERYTHING!
Transcript:
[0m:4s] Hi I'm Josh Bloom, welcome to another video in the RSP Supply education series. If you find that these videos are helpful to you, it certainly helps us out if you could give us a big thumbs up and subscribe to our channel.
[0m:15s] In today's video, we will move on to the next step in building an industrial control panel. If you haven't already seen the other videos in this series, we encourage you to go back and watch from the beginning so that you might better understand the entire process. The step in which we will focus on today is beginning to actually wire the control panel, more specifically focusing on wiring the power distribution portion of this panel.
[0m:40s] Now that we have taken all of the necessary steps to prepare ourselves for this wiring phase of the build, it is finally time to start terminating wires in the panel.
[0m:51s] Power distribution is critical to the safety and functionality of the panel, so it is extremely important to take your time during the step to ensure that it is done properly. As always, the process in which we will discuss today is just one method of many that can be performed to achieve the very same results. So, let's get to it.
[1m:12s] One of the first things that we want to consider when we start to wire, our control panel is we want to make sure that we really take our time, especially when wiring the power distribution portion of our control panel. We need to go slow and take our time. Wiring these types of power circuits through the panel can create a lot of different hazards if we really don't take our time and be careful. This can be as much as 120 volts, and in some case 240 volts that were running through our panel, so we really want to make sure that we take our time when we be safe. We're going to go slow follow your plans. Another thing we want to do before we really start to wire is we want to review the drawings before we get into it. And then as we start to actually wire, we want to reference these drawings really, really, very often throughout the entire process. Even if we're really confident in our abilities and wiring different circuits throughout the power edition Tution portion of the panel, we want to make sure that we continue to go back and reference the electrical drawings to make sure that each circuit has been wired properly. So continue to review those drawings again, even if you're confident in your abilities.
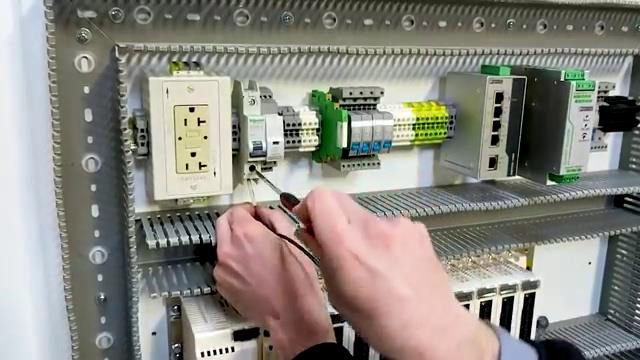
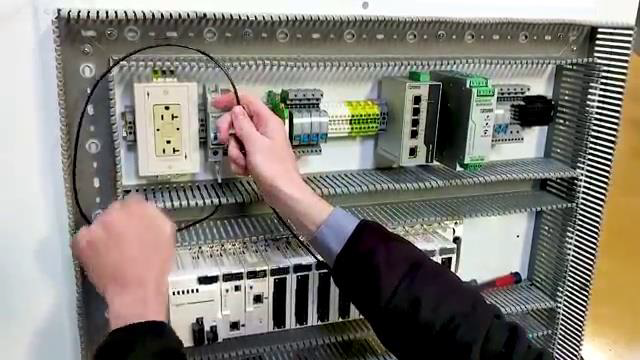
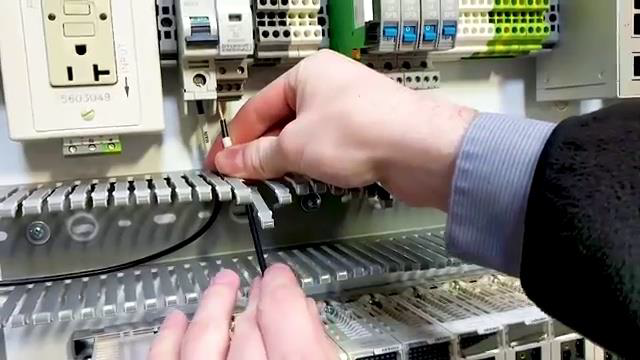
[2m:36s] These plans should always be used, again, on every single circuit as they are wired. The reason we do this as each circuit is wired is we find that we are able to find more mistakes if we wire one circuit and then double check it, as opposed to wiring everything and then going back at the end.
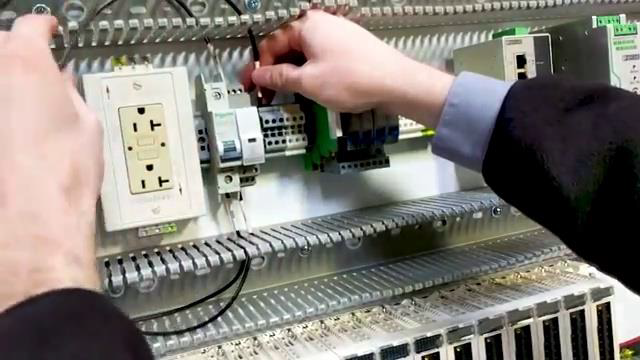
[2m:53s] The next thing we need to consider when wiring our power distribution is that our wire size is correct. When we're wiring a power circuit, we normally use a larger gauge wire
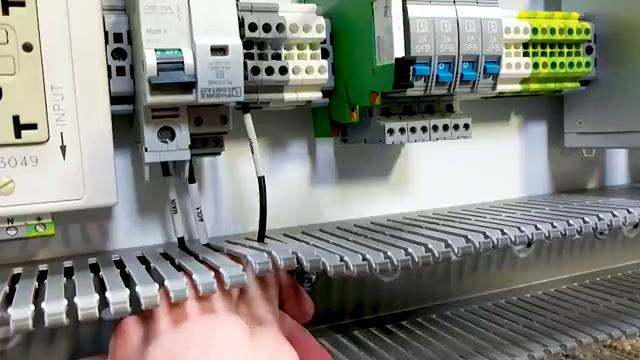
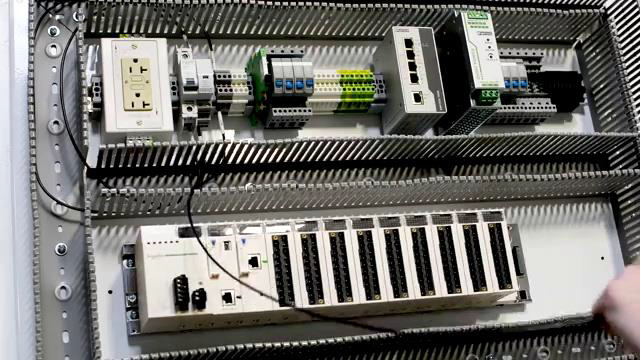
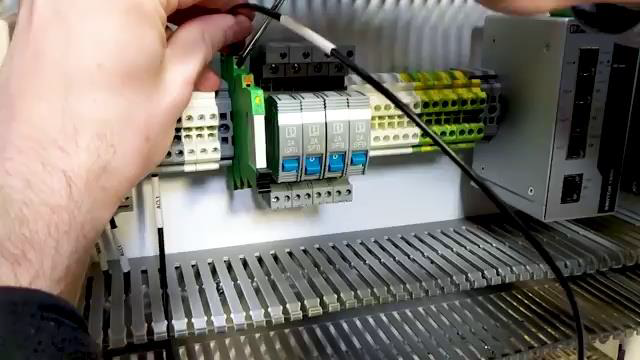
[3m:9s] for that particular circuit, so we want to make sure that we're using that larger wire. It's common in control panels to see 12 to 14 gauge wire being used that can handle anywhere from 15 to 20 amps of current passing through that wire. So I want to make sure that we're using at least that in 120 Volt control panels.
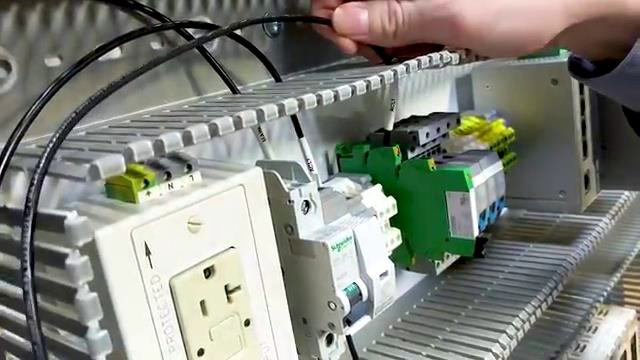
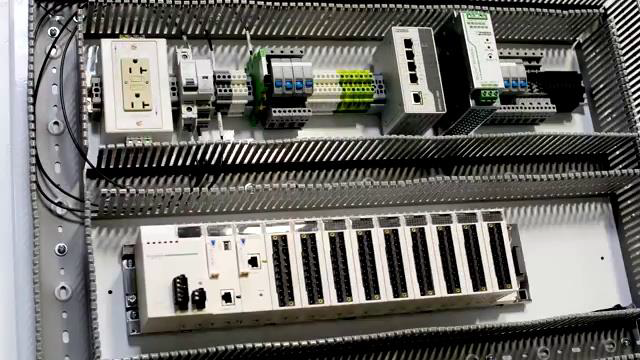
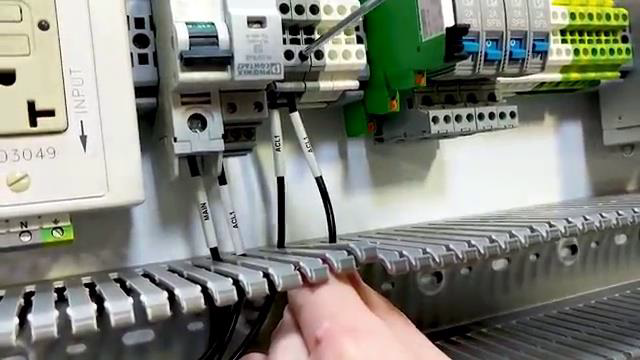
[3m:33s] It's critical that we do not undersize the wire in our control panel. If we use a smaller gated wire for power distribution,
[3m:42s] there's a possibility of
[3m:44s] burning up that installation on the wire due to
[3m:47s] too much current passing through it, which can create fire hazards and shot hazards, and can be really, really dangerous. We want to make sure that our wire size properly.
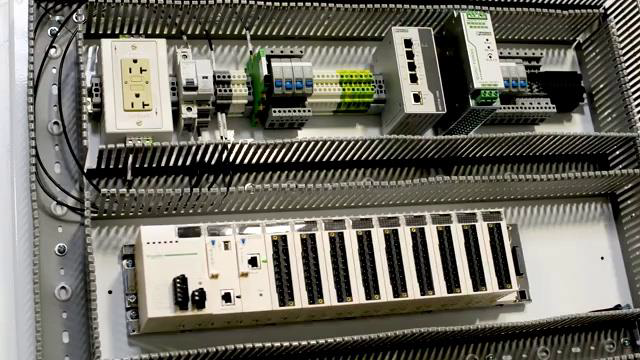
[3m:56s] As we're continuing to wire the power distribution portion of our control panel it's important that we double check each termination to make sure that we're not seeing any bird Caging or fraying
[4m:9s] at each termination point within our panel. Again, this fraying or bird Caging can cause shock hazards and again fire hazards, so it's really, really critical
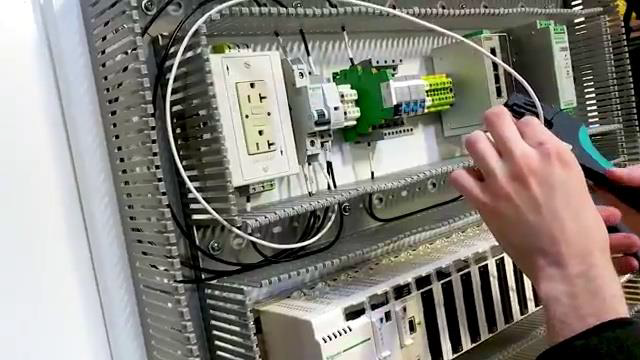
[4m:19s] that were careful, especially in the power distribution, because this is where we're going to see the most voltage and the most current passing through these wires.
[4m:28s] It's also important to make sure that the terminals that we're securing in this power distribution portion of our wiring that everything is secured properly that we don't have any loose connections, again, which can be to short circuits
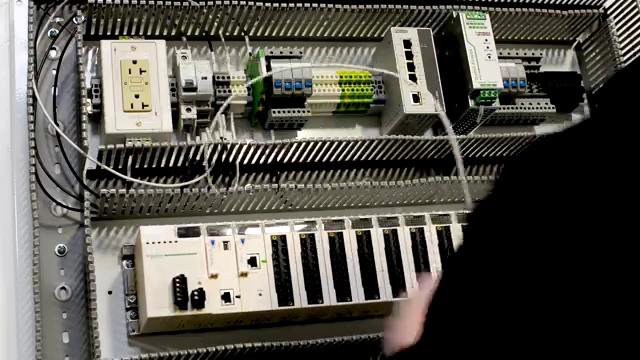
[4m:42s] and really inconsistent and unsafe conditions in our panel. A good practice here would be to use a torque screwdriver. If you're planning on UL listing your panel, you probably have one of these in your shop already, but torque screwdriver is a really great way to make sure that each connection point is properly secured throughout your entire panel.
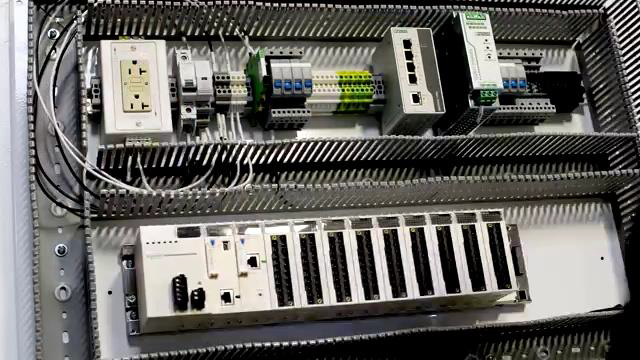
[5m:2s] Lastly, when we're making these terminations and wiring the power distribution portion of our panel, we want to make sure that once we're done with everything we go back again, review our drawings and each circuit that we have wired
[5m:18s] and review just to make sure that we've terminated in the proper locations, that everything is secure, that we don't have any points that could cause problems or short circuits or dangerous hazards later on. We want to double check to make sure all the labels we put on our wires makes sense, that they're in the proper location so that any operators can get in and out of that panel with the least amount of confusion as possible. And this is going to be the opportunity that we have to go back and fix any problems we may encounter to make sure that we have wired this power distribution portion of the panel correctly.
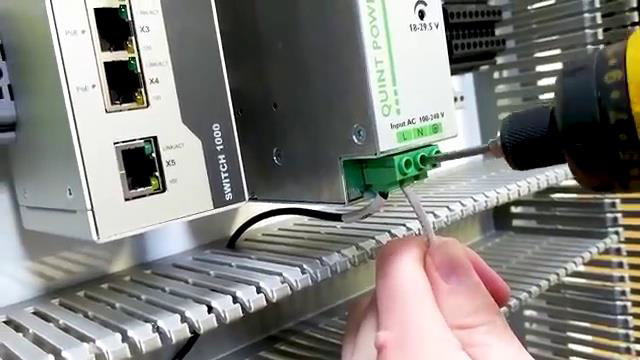
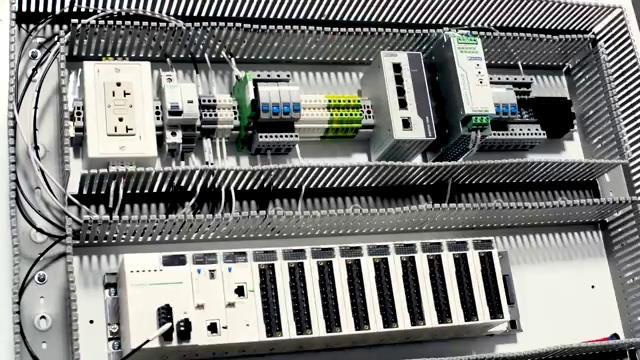
[5m:55s] Now, again, the power distribution is going to entail the incoming power on our panel,
[6m:2s] any AC instruments or devices within the panel, and then converting that over to DC power, and then any DC devices and IO within our panel. And the IO can be either AC or DC. So, the power distribution portion of the panel, again, consists of the incoming power and any power that's being distributed to different and various points throughout our panel. So, if we follow these steps, that we've outlined here we're going to make sure that that power is distributed safely
[6m:31s] and properly and then we can move on to the next step in our panel fabrication.
[6m:36s] As you can see, there are many things that should be considered when beginning to wire your control panel, especially the power distribution portion of this panel. As mentioned before power distribution is critical to the overall safety and functionality of the panel. So, time should be taken during this step to make sure that it is done correctly.
[6m:57s] As always, we appreciate your interest and participation in this series and hope you continue to join us throughout the remainder of the build process. In our next video, we will move on to wiring the IO portion of the panel. So, make sure to join us next time as we continue to build.
[7m:15s] For a full line of industrial control panel hardware and thousands of other products, please go to our website. For more information or other educational videos, go to RSPSupply.com the Internet's top source for industrial hardware. Also, don't forget:
[7m:29s] like and subscribe.


