Control_Panel_Build_Series_Part_15_Securing_Hardware.pdf
Hardware used - 10-24 machine screws - Washer and Lock Washer Line up cut hardware (wire duct, Din rail) with holes - Ensure that each location uses screw and both washer Once Wire ducting and dinrail have been secured, start mounting electrical hardware - Power supply, Terminal blocks, network switches, etc - Make sure to put everything in the proper location. Make sure that as you are securing hardware to the dinrail, you are making a full connection - If that hardware does not fully seat, it can come lose over time and fall off For the PLC in this panel, it does not mount to Dinrail - It has to be directly mounted to the backplane - For that we need to layout all of the holes Then Punch, drill and tap those holes just like the other holes on the panel. Once everything has been secured it is important to go back and make sure everything is secured so that nothing will fall off at some point down the road or during transport.
Transcript:
[0m:4s] Hi I'm Josh Bloom, welcome to another video in the RSP Supply education series. If you find that these videos are helpful to you, it certainly helps us out if you could give us a big thumbs up and subscribe to our channel. In today's video, we will move on to the next step in the building of an industrial control panel. If you haven't already seen the other videos in this series, we encourage you to go back and watch from the beginning so that you might better understand the entire process. The step in which we will focus on today is the securing of the hardware that is intended for the back plane of our control panel.
[0m:36s] Now that the holes have been drilled and tapped, we can move on to attaching the hardware to the panel itself.
[0m:43s] It is important to go slow during the step and make sure that nothing is missed and everything is secured properly.
[0m:50s] This is the first time that we can actually start to get a good idea of what the panel will look like with everything attached. As always, the process in which we discuss today is just one method out of many that can be performed to achieve the same result. So let's get to it.
[1m:8s] One of the very first things that we need to consider when mounting any hardware to our panel is the actual hardware that we intend to use to secure the hardware. In the case of our control panels, we simply use a 10 24 machine screw as well as a washer and lock washer for all of the din rail and wire ducting for the entire panel. We also use this same hardware for any direct mount hardware that we secure this panel as well. So now that we know what hardware we're going to use it's actually time to start moving on to securing the hardware to our panel.
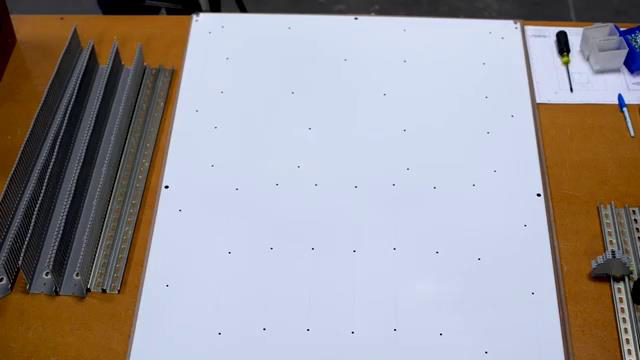
[1m:41s] So we're going to simply line up
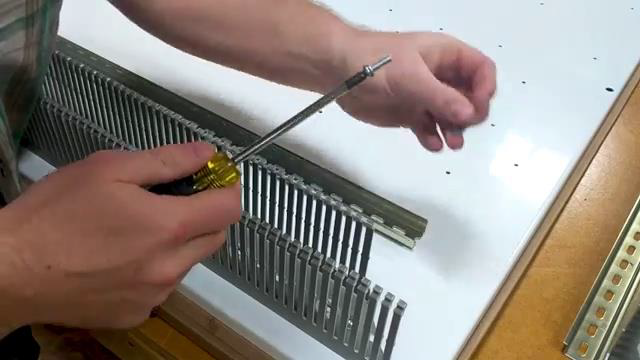
[1m:43s] any of the din rail and wire ducting that we had already precut in our previous step with the holes that we have now drilled and tapped on our panel. We want to make sure that each location that we secure the din rail and wire ducting to uses all of the hardware that we talked about, again, that bolt, the screw, and the washer and lock washer. So each point that we secure the din rail and wire ducting to, we want to use all of that hardware to make sure that it is secured very tightly and will not come loose over time.
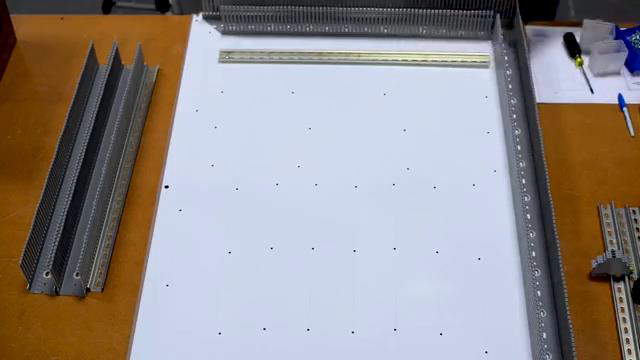
[2m:20s] Once we have the wire ducting and Dinrail fully secured on the panel, it's at this point that we start mounting the actual electrical hardware to the din rail on the back plane. This is going to include things like our power supply, any and all terminal blocks, circuit breakers, network switches, and all other relevant hardware that is din rail mounted. We also want to make sure that we put everything in the proper location. Now, this is where our layout design we previously did going to come in, great handy. We can reference that to make sure that all the hardware is being put in the proper location on the actual panel itself.
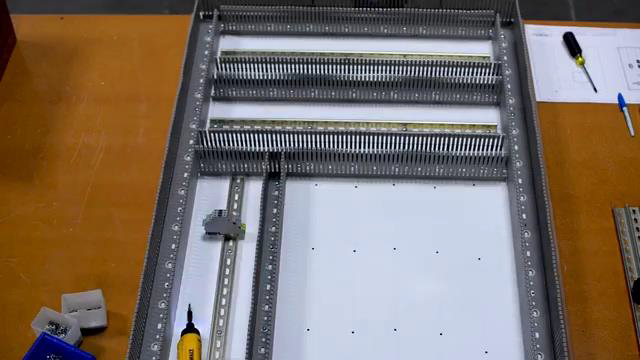
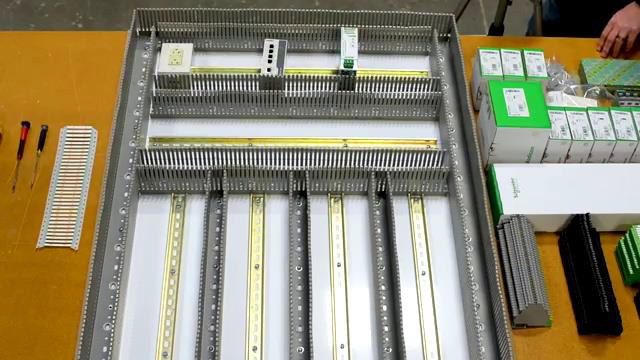
[3m:1s] We also want to make sure that as we're securing all of this electrical hardware to the din rail that we are making a full secure connection to that din rail. If the hardware does not fully seat to the din rail, it can come loose over time and fall off, so we, again, want to make sure
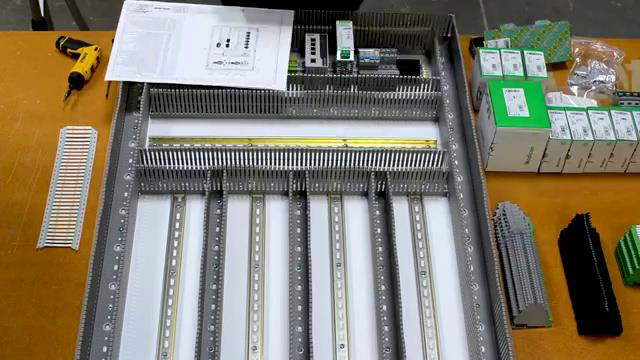
[3m:19s] that we secure everything properly to the general and it fully clips into place as we're demonstrating in this video.
[3m:26s] As far as the PLC goes for this particular panel, it was not a din rail mount PLC. So, in this case, we needed to direct mount the PLC to the Backplane. Now, to do this, we simply need to lay out all the holes like we did before with our wire ducting and din rail, and then just like we did with the wire ducting and Dinrail as well, we are going to punch drill and then tap those holes, just like we did on other locations in the panel.
[3m:58s] And at that point we're gonna use the exact same hardware, the machine screw the 1024 machine screw in this case, as well as a lock washer and regular washer to secure the PLC to the back plane. Once the PLC is secured, we have
[4m:14s] officially secure all of the electrical hardware, din rail, and wire ducting to our Backplane. At this point it's going to really start looking like a control panel without, wire obviously. Once we have secured everything we want to go back, double check everything. make sure that everything is fully secured, you can shake your hardware, make sure that it doesn't come loose. This is really important, again, so that things don't come loose over time. Especially during transport, we find that when things aren't secure, they tend to come, loose and fall off. And this is expensive hardware, and we want to make sure that we eliminate the risk of anything breaking or becoming damaged during transport or as the panel ages over time. Once we've done all this, we can move on to the next step in our panel build.
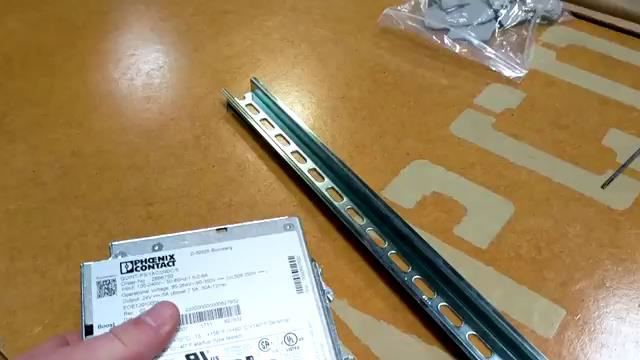
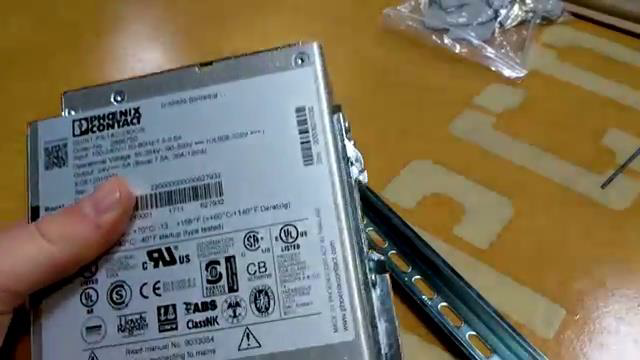
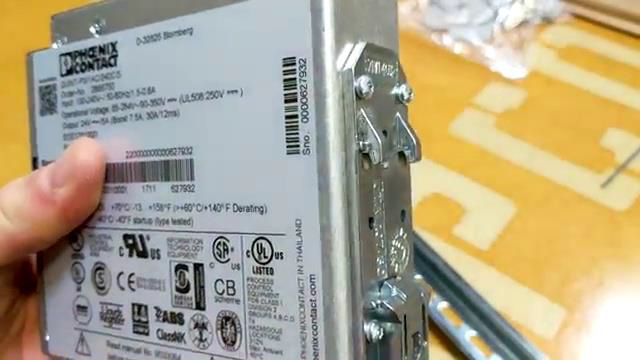
[5m:1s] As you can see taking time during this step is critical to make sure that everything is secured properly to the panel. If a mistake is made during this step it can be very costly later on if something becomes loose and falls from the back plane.
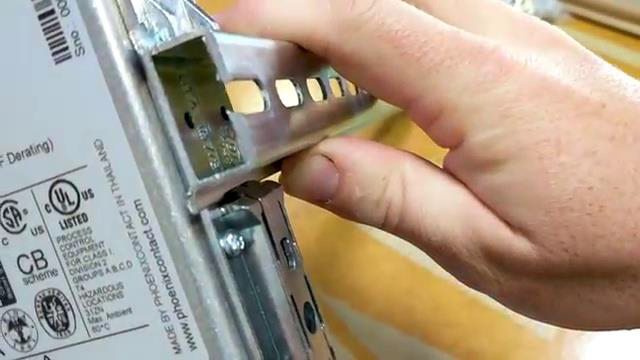
[5m:16s] So double check your connection points and make sure everything is secure before moving on to the next step in the build process.
[5m:24s] As always, we appreciate your interest and participation in this series and hope you continue to join us throughout the remainder of the build.
[5m:32s] In the next video, we will move on to the wiring phase of the build, but focus on the preparation that it is needed before wiring actually begins. So make sure to join us next time as we continue to build.
[5m:44s] For a full line of industrial control panel hardware and thousands of other products, please go to our website. For more information or other educational videos, go to RSPSupply.com, the Internet's top source for industrial hardware. Also, don't forget: like and subscribe.


