Panel_Build_Series_Part_14_Drilling_and_Tapping.pdf
- Wear eye protection!
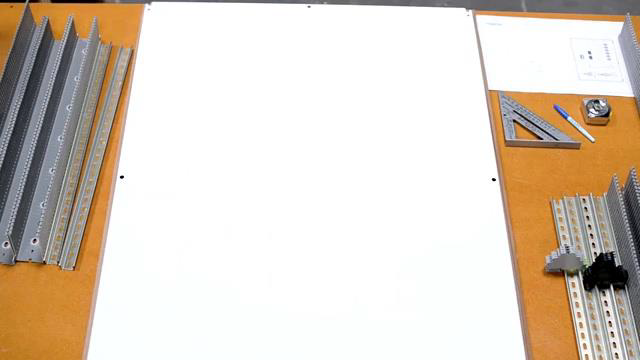
- Take inventory of the tools we plan to use.
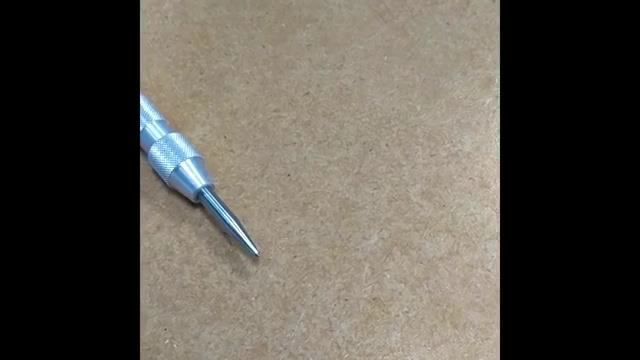
- Make punch divots into the backplate where we marked in the previous step. Punch before you drill!
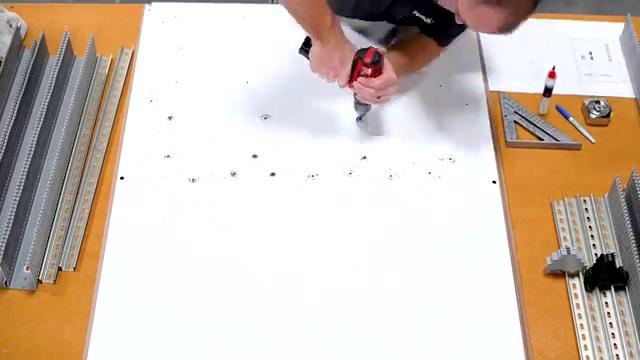
- Drill the divots into the backplate. Make sure to use a sharp bit and use lubrication when you drill.
- Clean up the metal shards created while drilling.
- Tap the holes that you drilled. Use lubrication again and make sure to go all the way through.
- Test some of the holes with the screws you intend to use.
- Clean the backplate again.
Transcript:
[0m:4s] Hi I'm Josh Bloom, welcome to another video in the RSP Supply education series. If you find that these videos are helpful to you, it certainly helps us out if you could give us a big thumbs up and subscribe to our channel. In today's video, we will move on to the next step in building an industrial control panel. If you haven't already seen the other videos in this series, we encourage you to go back and watch from the beginning so that you might better understand the entire process. The step in which we will focus on today is drilling the holes into the back plane and then tapping those holes so that we can attach the hardware to the panel.
[0m:38s] Now that the dry layout has been completed and we have marked all the locations for host to be drilled, the layout process is complete and it is finally time to get our hands dirty. Keep in mind, during this drilling process that eye protection should be worn to avoid any metal shards getting into your eyes as you drill. As always, the process in which we will discuss today is just one method out of many that can be performed to achieve the same result. So let's get to it.
[1m:9s] Before we do any drilling and tapping on the actual back plane, we want to make sure that we take inventory of the tools that we intend to use and make sure that they are fit for the job that we are about to do.
[1m:20s] In the case of drilling and tapping, a steel back plane, we typically use a metal punch. Now a metal punch is used to make a small divot in the metal so that the drill bit won't wander when we begin to drill.
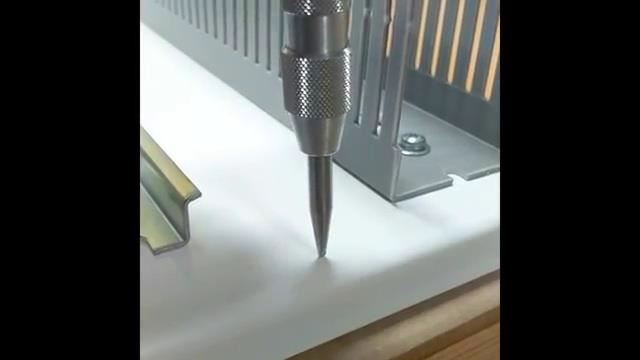

[1m:34s] We also are going to be using a very sharp machine drill bit, and we also use a 10 24 tap. Other sizes of taps and bits can be used to make smaller or larger holes depending on the type of hardware that you intend to use to secure your din rail and wire ducting to your panel. In this case, we like to use a 10 24 machine screw.


[1m:57s] The next step in this process is going to be to go back and find the marks that we made when we were going through the dry layout process.
[2m:6s] These marks are where we're going to actually start to make the punch divots into our steel back plane and where we're going to actually start drilling. The first step is punching or creating those divots and our steel backplane.
[2m:19s] A few things to keep in mind when using the punch. We want to make sure that we use the punch in the center of the mark that we had previously made so that the hole is centered in that mark.
[2m:31s] It is also important to punch before you drill. Now, this is a step that some people don't do we find that using a metal punch is very critical because, again, if we don't use this punch our drill that will wander from where we intend to drill, which can inevitably lead to the holes on our back plane not lining up with the hardware we intend to mountain the back plane, making everything not fit properly like we intended to do in our dry layout in our design. So again, we want to make sure that we use this punch before we do any drilling.
[3m:7s] The next step is going to be actually drilling into our back plane. Now, one big thing to consider here is we want to make sure that we wear eye protection, because when we're drilling into steel you're going to be throwing mental shards all about, and we want to make sure that we have something to protect our eyes. Another recommendation is that we use a very, very sharp drill bit. We're going to be drilling a lot of holes into this Backplane and using a bit that is dull can make for a very, very hard job that's going to take a lot longer. If we have a sharp bit it's going to go much more smoothly and it's actually going to be much much safer as well. When drilling, we want to make sure that we place the tip of the drill bit into the divot that we previously made when using our punch, again otherwise that drill bit is going to wander if we don't place the tip of that bit into that divot. It's also recommended, this is something that we do, that you use lubrication when you're drilling into the steel. This can help prolong the life of the bit, and we have found this to be very, very, very effective. Lastly once you've gone through and drilled all the holes on your back plane, go through and clean up all of the metal shards and shavings that were created during this step. For a few reasons: one these shards can cause injuries. You can get slivers, which can be very painful. We don't want these things lying around on our back plane. Two, these can actually damage or scrape up the surface of the back plane if you leave them on that back plane service. So, I typically use a shot back a very carefully go through and suck up all those metal shavings and shards that were created from the drilling step.
[4m:44s] Last step in this process is going to be the actual tapping of the holes is where we create threads in the holes.
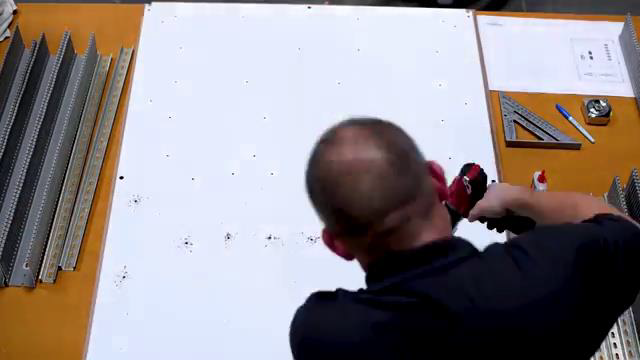
[4m:50s] Like, with the drill bit, we want to make sure that we use a very, very sharp tap. We've got a lot of holes that need to be tapped and if we use a dull tap, it's going to make for a very long process and the taps can break and it can be very annoying. We also want to make sure that as we're tapping, we don't over torque the tap.
[5m:9s] Otherwise those taps are very brittle they're hard, but very brittle and they can break really, really easily if we over torque them. So, we want to take our time, go slow, and tap those holes. Just like we did with drilling, we highly recommend that we use lubrication when we're making these threads in these holes, and then as we're tapping these holes, we want to make sure that the tap completely goes through the hole until that tap turns easily to ensure that those are all those holes have been properly threaded. If we don't go all the way through you'll find that when you go to secure screws into those holes, they don't thread properly.
[5m:44s] Once the holes have been fully tapped, it's a good idea to use some test hardware that you're intending to use the screws that you intend to use
[5m:52s] and try to actually test a few of the holes that you tap to make sure those screws are going in as anticipated.
[5m:58s] Once complete, just like we do in the drilling process, we want to go through clean up any debris on the back plane to avoid any potential injury and to make sure that the finish on that back plane stays very nice. Once we're done with this step we've completed the punching, the drilling, and the tapping on our back plane, we're actually ready to move on to the next step, which is going to be mounting some hardware.
[6m:20s] As you can see, there is a lot to consider when drilling and tapping the holes for your control panel. It is very important that you take your time and make sure that the holes are placed in the proper locations and that they are tapped properly as this is critical to be able to secure hardware correctly.
[6m:39s] As always, we appreciate your interest and participation in this series and hope you continue to join us throughout the remainder of the build process. In our next video, we will move on to actually securing hardware to the panel. So make sure to join us next time as we continue to build.
[6m:57s] For a full line of industrial control panel hardware and thousands of other products, please go to our website. For more information or other educational videos, go to RSPSupply.com, the Internet's top source for industrial hardware. Also, don't forget: like and subscribe.


