Control_Panel_Build_Series_Part_5_Preliminary_Design.pdf
Going through the process of putting together a preliminary design to makes the next steps in the build process much easier.
Transcript:
[0m:4s] Hi I'm Josh Bloom, welcome to another video in the RSP Supply education series. If you find that these videos are helpful to you, it certainly helps us out if you could give us a big thumbs up and subscribe to our channel.
[0m:15s] In today's video, we will move on to the next step in our panel fabrication series.
[0m:20s] If you haven't already seen the other videos in this series, we encourage you to go back and watch from the beginning of the series so that you might better understand the entire process.
[0m:31s] The step in which we will focus on today is putting together a preliminary design for the panel.
[0m:37s] This allows you to better understand what is needed during the hardware selection process as well as gives you the ability to make sure that everything that is needed for the control panel will fit as expected in the size of enclosure you intend to use.
[0m:52s] This is an important step and needs to be done correctly so that nothing is missed, which can cause problems later on in the build process. So, let's get started.
[1m:2s] Once we have determined the IO hardware that is needed for this specific control panel, more specifically, the PLC, as the PLC really dictates the amount of IO that we're going to need, at that point, we can move forward with the preliminary design of our control panel. Now, the purpose of this preliminary design is not to get the final idea of what we need and the design process. The idea is to
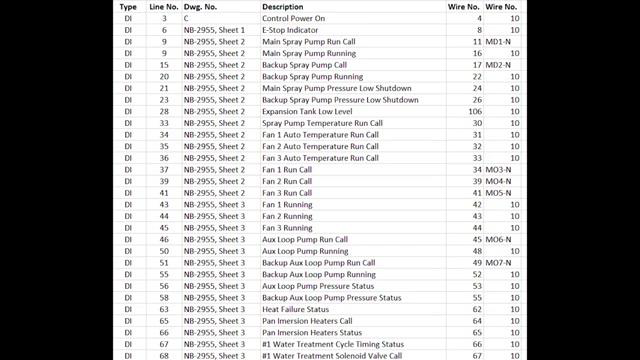
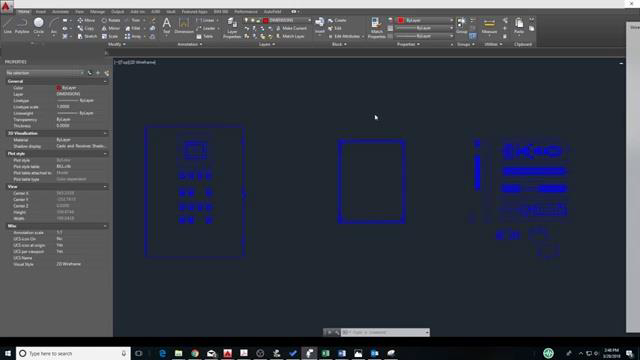
[1m:26s] make sure that all of the hardware that we need and think we're going to need will fit, and we can start to gather some information as to whether the size of enclosure that we intend to use is going to fit in a space that's been provided by our customer. And, we also need to size that enclosure and our wire ducting and make sure everything will fit and flow as we intend it to. That's the point of this preliminary design. So, when we're moving forward with this design, we need to get an idea of the hardware that we think we're going to need for this control panel. Now, it's not necessary to know exactly all of the specific hardware that we're going to use for this panel, but we want to
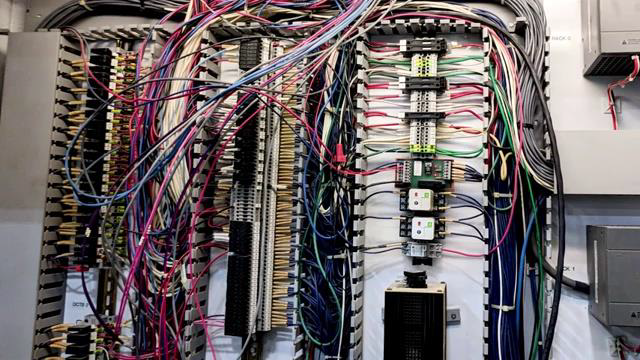
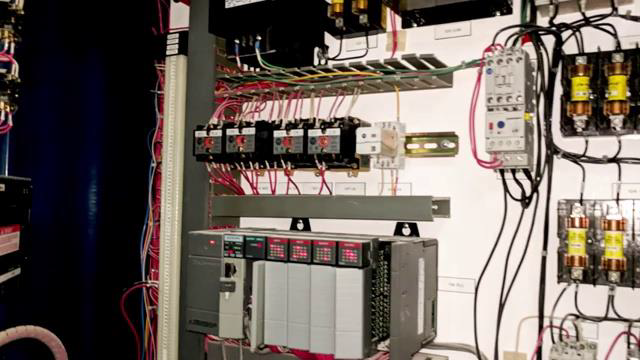
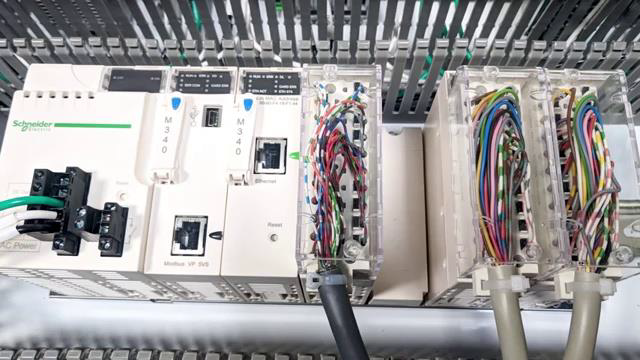
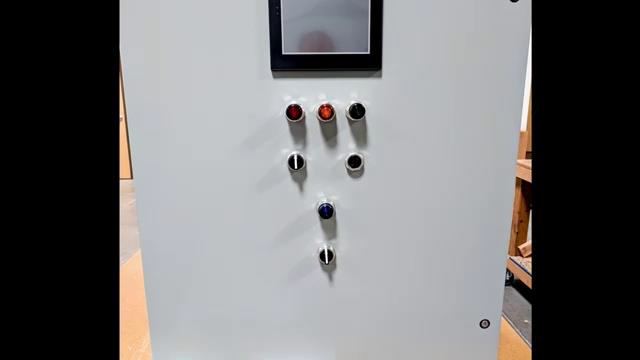
[2m:3s] get a rough idea or put everything in that we think we might use as kind of a space filler so that when we go to do the final design, we know that we have a place, we have a place for it in the design and we have enough room within the enclosure that we intend to use. So, again, it's not important that we select the specific hardware that we're going to use for a build, but we want to use something that we think we might use for all of the potential hardware we could use for this specific build. This is also so a really good opportunity that, if the customer has a panel design that they have used in the past, that we play with that panel design with the hardware we intend to use to make sure that it will fit within the enclosure size that we intend to use. Also, the good thing about doing a preliminary design is, if we find that we don't have the room that we need, we can change or alter the size of the enclosure and back plane that we're using. Because of this preliminary design process, we have the flexibility to make those changes now as opposed to later on down the road which can cause a lot of headaches. So again, this is a great time to play with the layout of your panel, whether we're trying to match an older design that our customer might have or we're trying to come up with a completely new design. We want to make sure that our hardware fits where we want it to, that we have a good layout, we have a good plan in place, and that everything has a good flow, and that we design this panel with the intention that when it's being installed in the field, that everything'll work as intended. Again, this is just a preliminary design, so it's a great time to make changes if we need to. Nothing is set in stone at this point. Once we have gotten
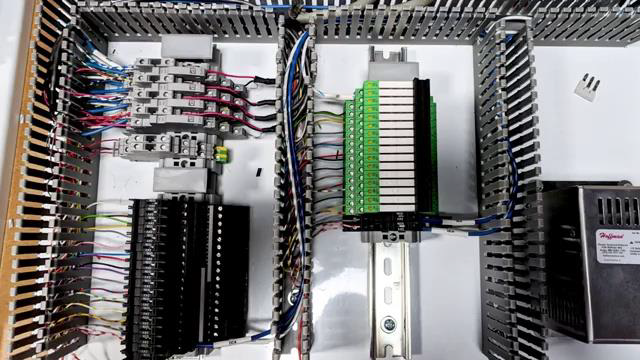
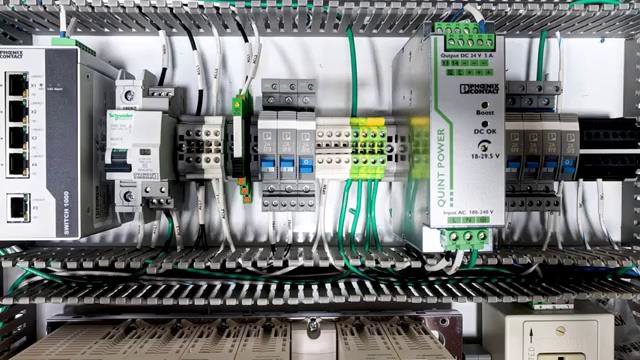
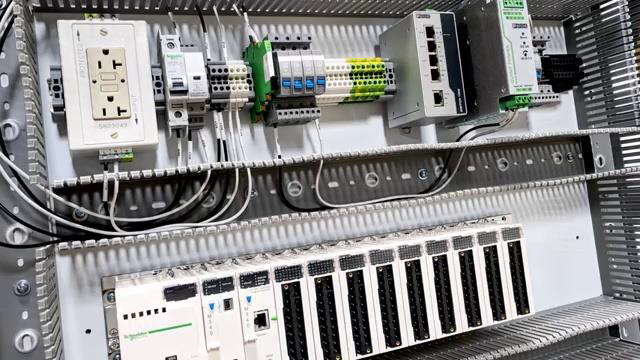
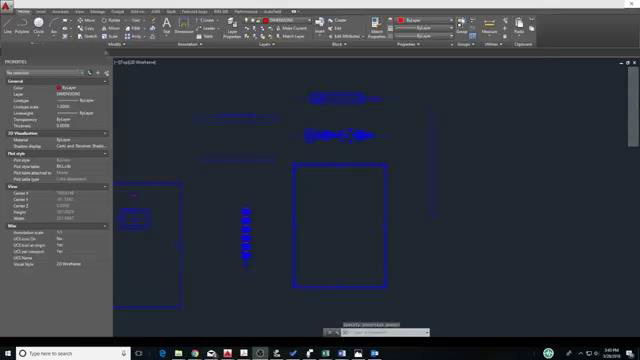
[3m:47s] our design roughed out to a point where we're pretty happy with it, at that point, we can move on to the next step in the planning process, which is going to be selecting the more specific hardware we intend to use for this actual build process. So, again, this is just a rough design,
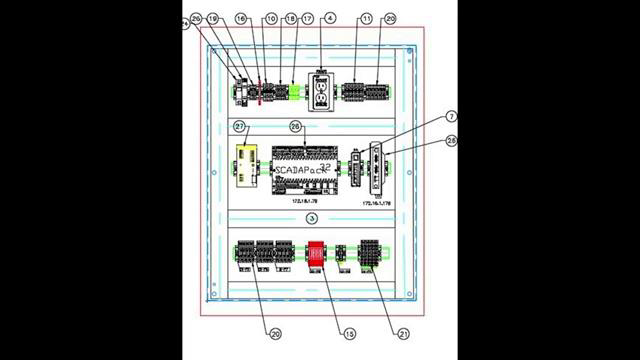
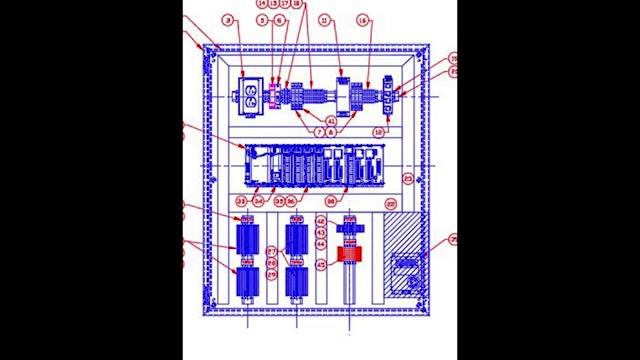
[4m:8s] but it is a very important step in the planning process to make sure that we have the size and the room that we need with our enclosure in our back plane so that all of our hardware and all of our IO will fit as intended.
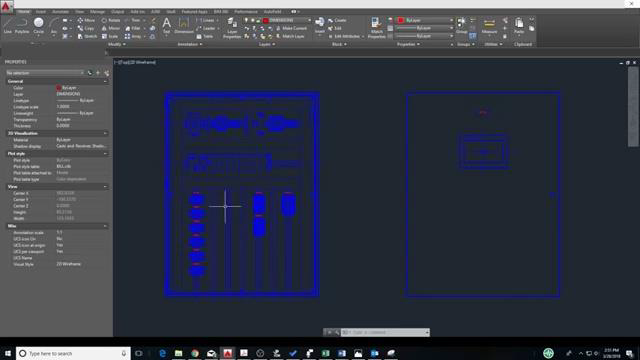
[4m:22s] As you can see, taking time to make a preliminary design for your control panel can save a lot of time and money, especially when selecting hardware for your panel.
[4m:31s] It is important to take your time during this step and get it right. As always, we appreciate your interest and participation in this series. Stay with us as in the next video, we talk about selecting some of the hardware that is needed for this panel. So, make sure to join us next time as we continue to build.
[4m:47s] For a full line of industrial control panel hardware and thousands of other products, please go to our website. For more information or other educational videos, go to RSPSupply.com, the Internet's top source for industrial hardware. And, don't forget: like and subscribe.


